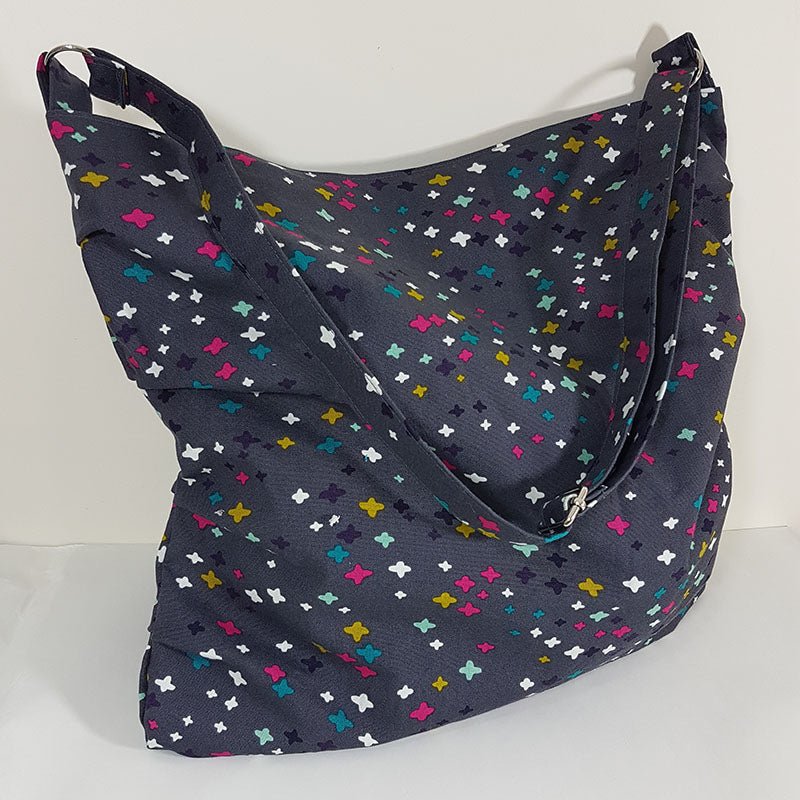
Slouchy Bag Tutorial
It's been a while since i launched a free pattern and i'm really excited about this bag!
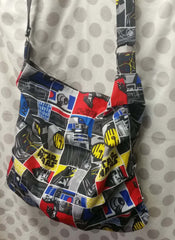
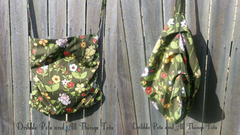
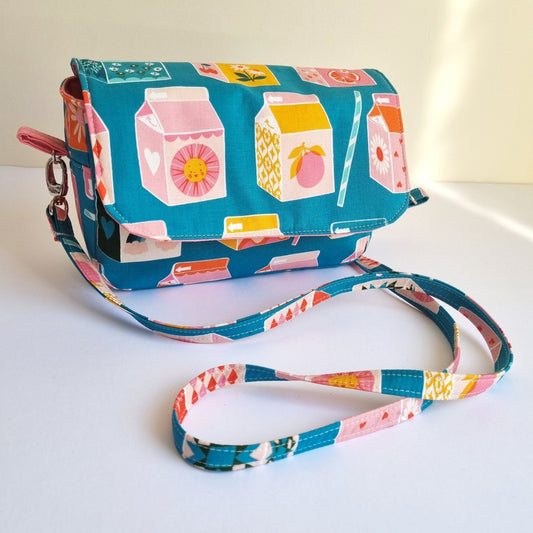
It's the Unisex Slouchy bag. This bag is perfect to grab you things and you tablet and get go. It's a cross body bag.
This bag is a quick sew, perfect for the afternoon or evening.
Install a slider it to be adjustable or you could make the strap longer.
Let's get started!
Download and print the pattern pieces.
Print the pattern on No Zoom 100%
You'll need
1 yard of fabric (half a yard of each)
2 D or O Rings (optional) - You can just lengthen to strap piece and attach to bag
Cut out 2 exterior fabric pieces with the bag pattern pieces and 2 lining pieces
Cut 2 tab pieces 4" x 6"
Cut 1 strap piece 44" x 6"
pocket piece 12"x 6"
Strap and D Ring Tabs:
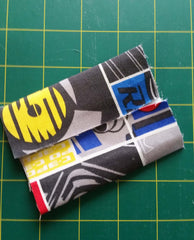
Fold the long edge of the tabs in half and then each side into the middle and in half again. sew 1/8 down each long side. place the D ring into the centre and fold over.
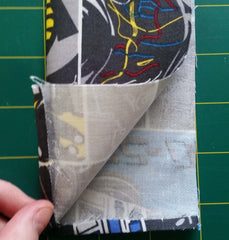
Your doing the same with the Strap but Folding 1/4 on the short sides first so the ends don't fray after we attach them to the D rings.
The Pocket:
Fold the pocket piece in half and sew down each side and the bottom leaving a turning hole.
Clip corners and turn right side out. Press well including the turning hole.
Attach the pocket to one of the lining pieces in the centre about 4 inches down or where ever you'd like it.
You can also easily install a magnetic snap closure, i do this about 2" centred down from the top of each lining piece.
Stitch 1/8" away from the edge of the pocket.
This will close the turning hole.
Lets put it all together.
Mark all of the pieces with the pleat lines on the front of the fabric (right side)
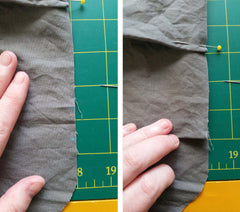
To make the pleats on all 4 pieces (2 exterior, 2 lining) you take one marking and put it on top of the marking below.
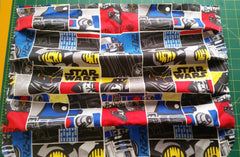
Now you have 4 pleats on each side of each piece (this bit takes the longest!)
Then Baste Stitch along these to hold them in place.
Take each exterior piece and lay them right sides together match up the pleats.
Then stitch the sides and bottom with a 3/8" seam allowance
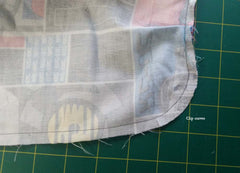
Clip the curved corners
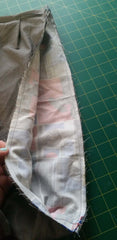
Do the same for the lining pieces but leave a 3" turning hole at the bottom.
Turn the exterior pieces right side out
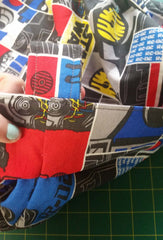
Now place the Tab pieces centred on the side seams at the top of the exterior pieces of the bag and baste
Place the exterior pieces inside the lining pieces (right sides together)
Match up the side seams and pin around the top.
Sew around the top with a 3/8" seam allowance.
Pull the bag though the hole in the bottom of the lining.
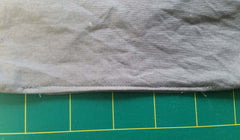
Press the hole closed and stitch 1/8" from the edge.
Push the lining into the bag and press the top edge of the bag and lining so it all sits flat.
Top stitch all the way around the top of the bag 1/8" away from the edge.
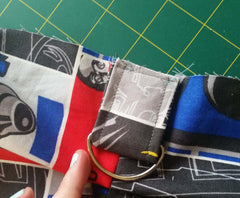
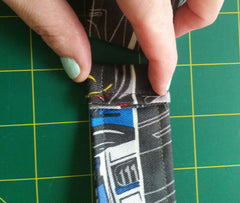
Attach the straps by placing the end though the D rings.
The folded edge should be facing the bag and folded up towards the strap 1/2"
Sew 1/4" from the edge go over the stitching a few times to make it extra secure.
Enjoy your Slouchy Bag! If you found this sewing pattern easy, fun and useful please share with me on on social media using the #slouchybag
Sign up for my newsletter below to get the latest discounts and news about my patterns.
