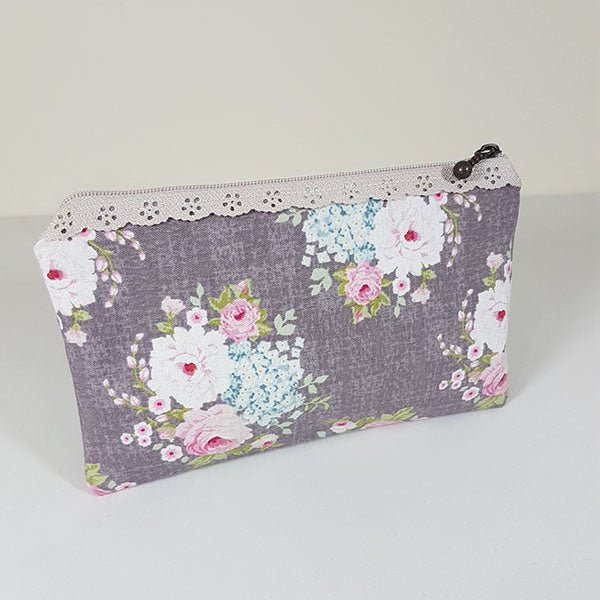
Sew a Lace Zipper Tutorial
I've had these Lace zips for about 3 years and i have wanted to make some pouches with them!
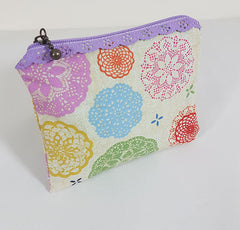
My previous make up pouch had seen better days and i have just bought this beautiful Tilda fabric from a market!
I'll be show you two easy ways to use lace zips in pouches. They look so good!
This post contains affiliate links
before starting i recommend giving your zip a light press with the iron to ensure it sits flat.
I also recommend some awesome fabric glue. I use sewline glue for my zips and it works great! I also use clips if i'm doing a quick sew project.
I made my pouches just a little bit shorter than my zips.
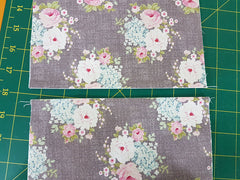
First thing to do with either method is take your fabric pieces and sew the exterior an lining pieces right sides together along the top with a 1/4" seam.
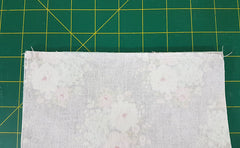
Press the seam open and put the lining piece to the back.
The first way which is also my favorite way is to lay your fabric along the back of the lace zip.
You'll notice on the back of the zip the back is darker where the zip teeth are. There's a light where it slightly changes colour.
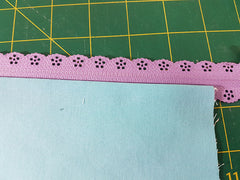
lay the stitched edge along that line and glue it. The lace is on the exterior.
Always stitch the zipper on to the pouch from the front (exterior) stitch 1/4" from the zip teeth.
If you like to stitch really close to the zip teeth try the following method.
Lay your pieces flat with the seams facing each other and the exterior facing up.
Zig zag stitch with a large stitch at each end within the pouch seam allowance. (This will be cut apart later.)
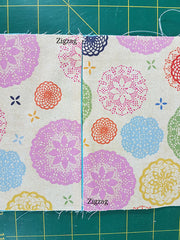
Lay the zipper right side up on the exterior side along seams matching the zipper teeth with the seam as much as possible.
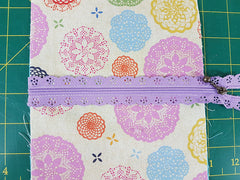
Stitch down each side of the zip 1/8 from the zipper pull.
Clip the zig zag stitches. This method allows the lace to flare a bit on top.
Continue to make the pouch just like you would normally. Check out my Triangle Pencil case or Cute card and coin pouch to show you how.
Sign up for our newsletter below for pattern news and discount codes!


