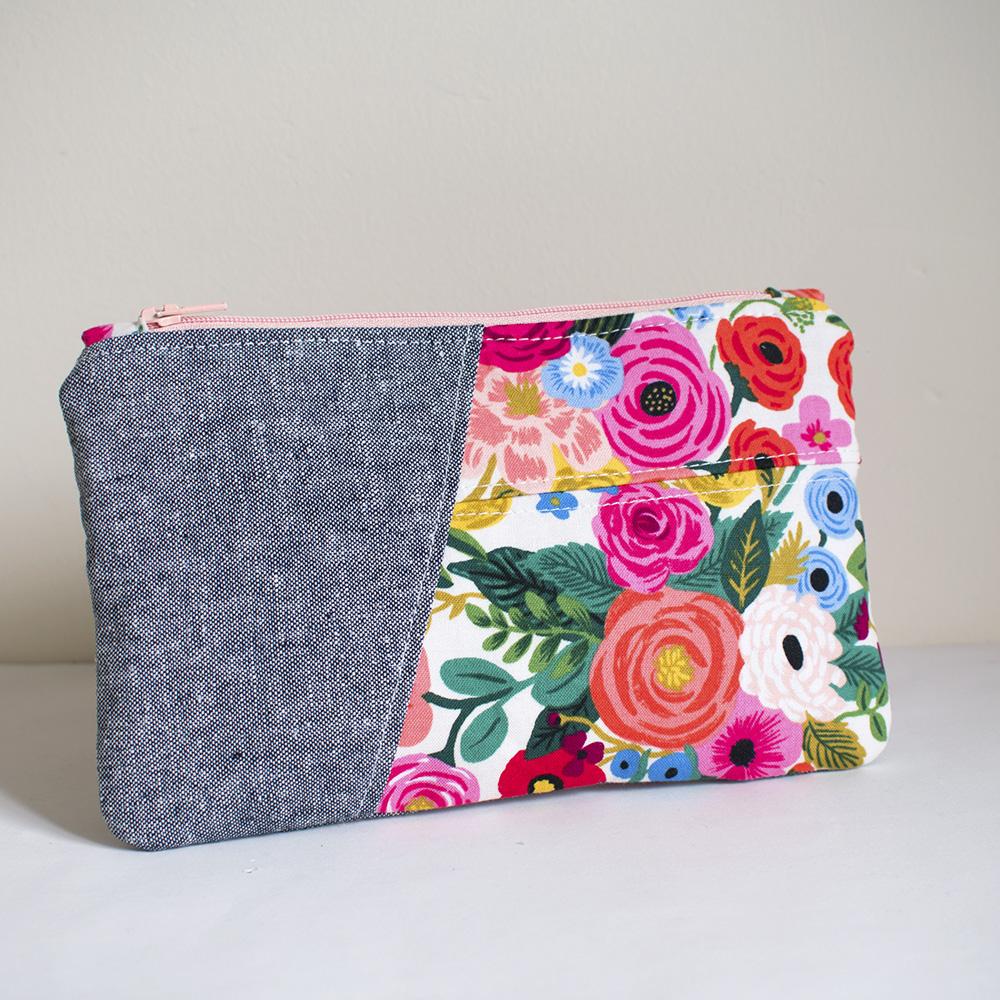
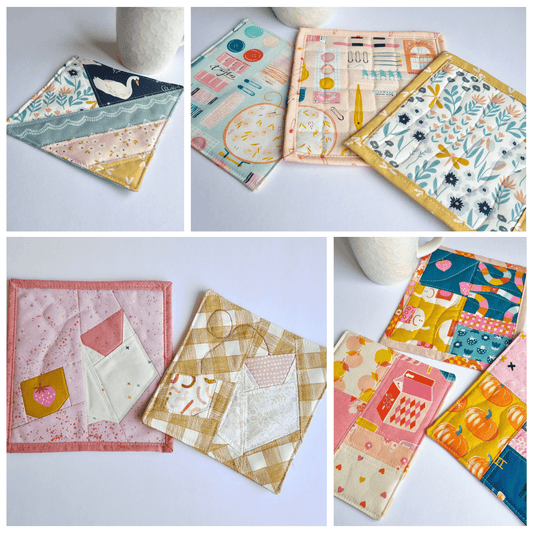
I'm always looking for ways to use my foundation paper piecing quilt blocks. I wrote about using them for mug rugs or mini quilts which is the fastest way to finish a block and use it straight away. My new favourite is going to be this block pouch. I am addicted to FPP and Pouches so combining them with this easy and fast technique is great!

The block i used for this tutorial is my Valentines block but i created this pouch to be used with any of my Quilt blocks. If the block is bigger or small you can easily adjust to your needs. All my blocks are 6" x 6" + seam allowance. So they should measure 6.5 x 6.5 when finished.

Please be aware this tutorial is for personal use. If you love this tutorial and want a easy to print (full PDF pattern) version and to sell the purses you make from this pattern, you can purchase the Tutorial to PDF Pattern Bundle + Bonuses
Once you have created your quilt block you will need to cut 2 strips 2" wide. they should be longer than 6.5" Blocks finished size can vary due to accuracy of stitching so i cut mine longer and trim them.
Place each strip right sides together on each side of the block. Stitch each 2" fabric strip with a 1/4" seam allowance.

Press seam and press open. Trim these pieces to line up with the rest of the pouch. Use this new piece i'll be calling the front exterior as a template to cut the following:
1 x Exterior Back Piece
2 x Lining Fabric Pieces
2 x Fusible Fleece Pieces
2 x Fusible Interfacing Pieces
You’ll also need a zip that is at least 10” long. Attach the fusible fleece pieces to the wrong side of the exterior pouch pieces. Attach the fusible Interfacing to the wrong side of the lining pieces.
At this stage i quilted my exterior front. You can quilt as much as you would like however your piece may shrink with quilting and you may need to adjust your exterior back and lining pieces.

Zipper tabs are optional on this pouch. But I thought it would look good with this size 5 zip. I cut my zip down to 8” and created and attached my zipper tabs.
Place the zipper right side down along the top of the exterior piece of the pouch and place the lining piece on the wrong side of the zip. The zip will be in the sandwiched in between of these pieces along the top. Sew along the top of the pouch 1/4" from the edge. Open out and press and top stitch through the exterior and lining piece close (1/8”) to the zipper tape.

Open out and press these and attach the other sides of the pouch exterior and lining being careful to line up with the previous sides. Open out, press, and top stitch these too.


OPEN the zipper to half way. Place the lining pieces right sides together and the exterior pieces right sides together. Sew around the edges with a 1/4″ seam allowance. Leave a 3" turning hole in the bottom of the lining pieces. Pull the pouch right side out through the turning hole.

Press and the stitch the turning hole closed with an edge stitch and place the lining inside your pouch. Enjoy your cute block pouch!


