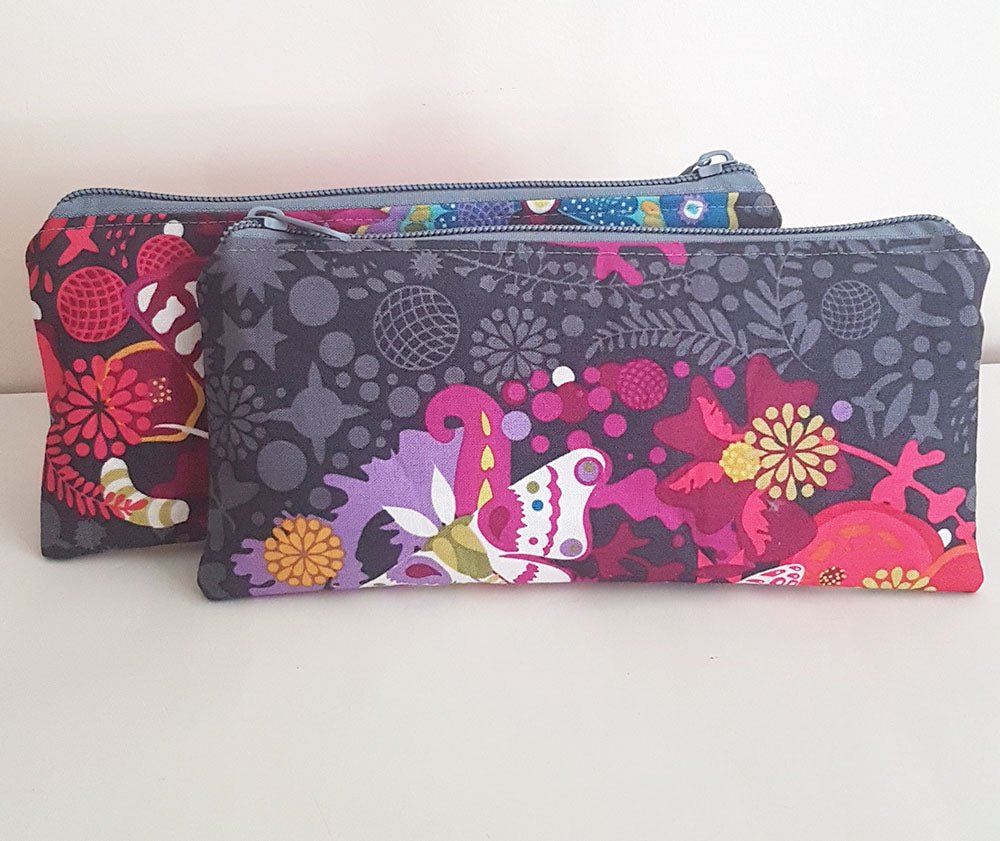
Quick Sew Pouch Tutorial
Sewing Pouches for your handmade business doesn't have to be slow going! This tip that will save you so much time!
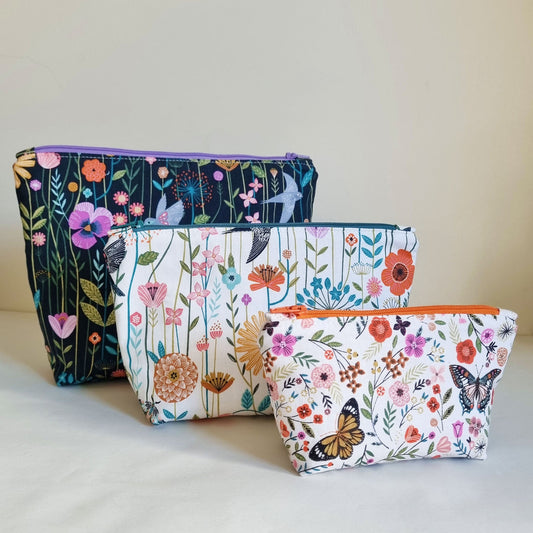
My examples are made with leftover Alison Glass fabric, This tutorial will show you the beginning of making the pouches. Sewing with this method not having to sew around zipper pulls. This technique will save you sewing time.
My Pouches measure 4.5" x 9.5" however you can use this tutorial for any of my pencil case or pouch tutorials.
For this tutorial you will need continuous zipper tape and zipper pulls. I have used size 5 or Bag zipper tape. This is slightly bigger than dress zips and looks fantastic on bags.
The amount of zipper pulls depends on how many pouches you are sewing and how many zipper pulls you want on each pouch.
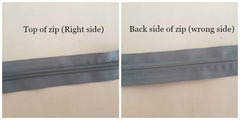
Nylon zippers have two sides, this is important to know as you will need to attach the zipper pulls the right way.
Place the zipper right side down along the top of the exterior piece of the pouch and place the lining piece on the wrong side of the zip. Essentially the zip will be in the sandwiched in between of these pieces along the top. You can place as many pouch pieces along your zipper tape that you want. Ensure that you leave 1"- 2" wriggle room to put your zips on one end of the tape and space your pouches about 1/4" apart.
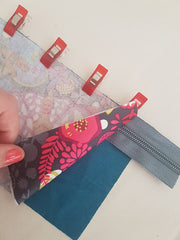
I have sewn my zips 1/4" from the edge however you could use a zipper foot and sew close to the zipper teeth if you like. i stitch all the way down the length of the zipper. Open out and press these and attach the other sides of the pouch exterior and lining being careful to line up with the previous sides.
Open out and press these too. At this stage i top stitch along the top of each side.
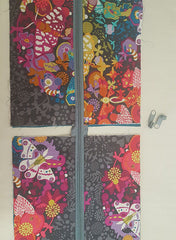
On the side you are putting your zipper pulls on, cut a V like shown, it doesn't have to be perfect. I do it this way as i find it easier to hold the zipper tape.
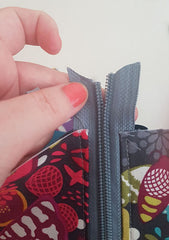
Place one side of the zip though the zipper pull hole and the other side in as far as it will go, hold like shown use your other hand to pull the zipper pull.
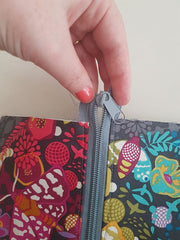
I put all my zipper pulls on at once, put them in the middle of each pouch and then cut my tape between each pouch. Split the end of each zipper tape open and trim.
You are now ready to finish up all of those pouches. to learn how to finish making pouches with this technique!
Check out my other tutorials. Sign up for our newsletter below for pattern news and discount codes!



1 comment
please help me install a zipper in the most detailed way. I am a slow learner and want very much a pouch that i make by myself. Thank you