
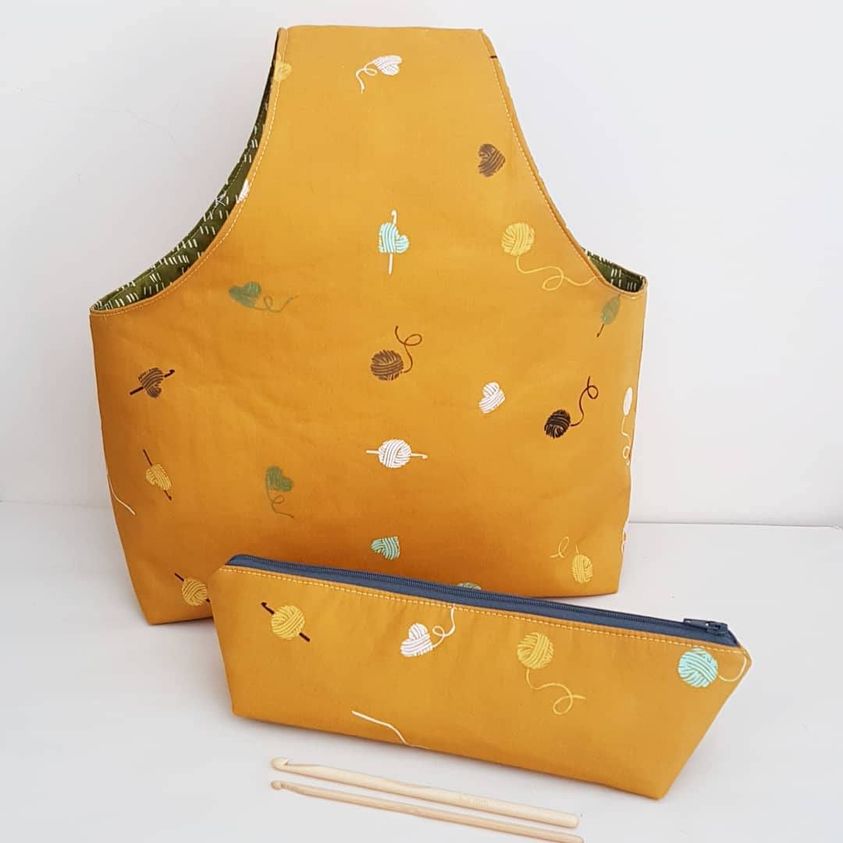
Yarn Bag Tutorial
I dabble in crochet. I can't make clothing or anything too fancy but if i want a baby blanket or a scarf i can make it.
I recently started a lap blanket for myself and i realised i have no bag for my yarn and used a plastic bag. It didn't really work that well especially when trying to watch TV with the rustling noises of plastic! Haha!
Now that i finished the blanket, i have designed an easy quick sew yarn bag. It has a pocket with a snap closure for your hooks too!
*This post contains Affiliate links

You'll need:
1/2 a metre of exterior fabric
1/2 metre of Lining
1/2 metre of Medium Interfacing
1/2 fusible fleece (i used vilene H630)
1 Snap set.
Cut 2 exterior bag pieces
Cut 2 lining bag pieces
Cut 2 bag pieces in medium interfacing
Cut 2 bag pieces in Fusible Fleece
Cut 2 pocket pieces
Cut 2 pocket pieces in medium interfacing
The pattern pieces should be put together like the below picture:

Let's get making:
Attach interfacing following manufacturer’s instructions to lining pieces of bag and each piece of the pocket.
Attach the fusible fleece to the exterior bag pieces.
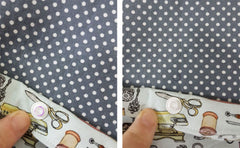
Create the pocket by sewing the pieces together leaving a turning hole at the top.

Clip corners and turn right side out. Fold in turning hole, press and top stitch 1/8” away from the top seam this will close the turning hole.
Install the Male side of the snap in the pocket piece, centred ½” down from the top.
Find the centre of one of the lining pieces. Pin the Pocket piece to the lining with the bottom of the pocket 5” up from the bottom.
Mark where to place the female snap piece by putting erasable market on the tip of the male piece and pressing it onto the lining piece.
Attach the female side of the snap to the lining so it lines up with the male side

Create boxed corners by by nesting the seams of the side and bottom, creating a triangle. Sew straight across 2” from the point

Create the lining of the bag the same way as the exterior.
Turn the exterior bag right side out and keep the lining wrong side out
Place the exterior bag inside the lining. Match the side seams and handle.

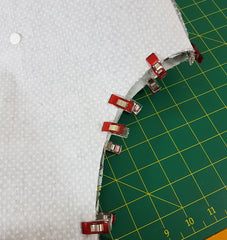
Sew up each side of the handle and stop about 2 inches before the end. Clip around the curves being careful not to clip into the stitching.
Reach into one of the ends of the handle and pull the bag through turning it right side out.

Place the ends of the two lining handle pieces right sides together and attach with a 1/2” seam. Press seam open.
This bit is tricky, Place the end of the two exterior handle pieces right sides together and attach with a 3/8” seam. Press the seam
open and turn the handle right side out.

I've got a video showing exactly this part.
Fold the side edges of the handles in by 3/8” and press. Top stitch 1/8” away from the edge, around each handle hole closing the holes.

Press well!
Enjoy your new Yarn bag!
Sign up for my newsletter below for the latest tutorials and discount codes!


10 comments
Hello, I just LOVE this bag! I was able to print the pattern, but not the instructions. Is there a way you might be able to
email me the instructions. I have a very hard time seeing my computer and a printed copy would be very helpful to me.
If not, no worries.
Thank you so very much
Mary Stockman
Thank you so much Lorelei Jayne for the instructions of this bag……. I’ve had a very frustating day doing one of these bags, until I found your instructions…..and it was sooooo helpful….thank you…..I will sign up for your newsletters, thank you very much…. Blessings and love
Love this pattern! Excellent, easy to follow instructions. Thank you!
Gayle, It has a squared bottom. It’s a simple way to make a bag bottom.
Just been looking at the pattern…I’m a bit confused as how is the bottom part made. As there is no pattern piece. Any help would be great thank you
Kind Regards
Gayle