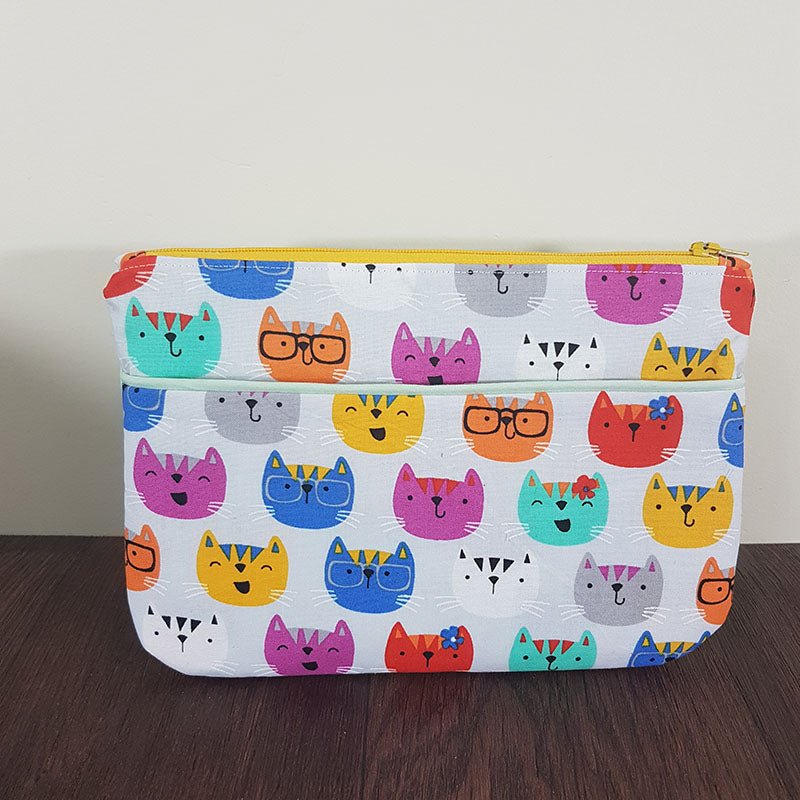
Add Piping to the Anne Pouch
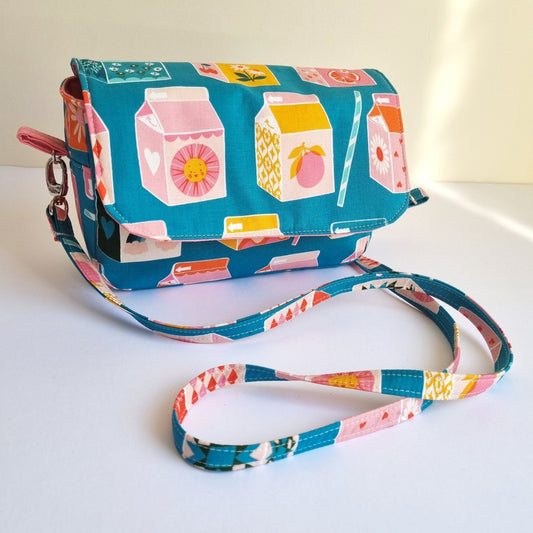
Want to know how to add piping to the pocket of the anne pouch?
It's super easy and very effective! Piping makes any bag look amazing and professional.
Adding piping the the Anne pouch will take requires a slight change to the pattern, lets get started!
This post contains affiliate links.
First you'll need the FREE Anne Pouch Pattern pieces which can be found on the Anne Pouch Tutorial blog post.
Print out at 100% auto centred and stick the pages together at the triangles to make diamonds.
To learn more about how to print and put together my PDF patterns click HERE.
You'll also need size 00 (2.5mm) Piping cord and some fabric for the piping that is 1" x 12".
Cut out a piece of contrasting fabric that is 1" x 12". If this was being sewn around a curve it would have to be cut on the bias however because this is a straight line it can be cut any way.
Before cutting out the pattern pieces draw a straight line 3/8" above the pocket piece. Extend the side lines up to the top. This is your new pocket piece.
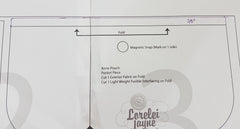
Instead of cutting on the fold you will cut 2 pocket pieces out of fabric, and interfacing.
Attach the interfacing following the manufacturer's instructions.
Attach the Magnetic snap to 1 pocket of the pieces.
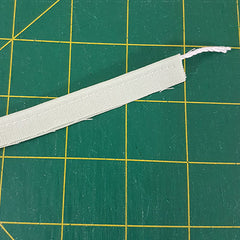
Place the cording in the center of the strip of fabric. Fold the fabric over the cord to match the raw edges and pin in place. Use a zipper foot and stitch close to the cording with a basting stitch.
Attach the piping to one of the pocket pieces with the raw edge along the top of the pocket piece sewing 1/8" from the edge.
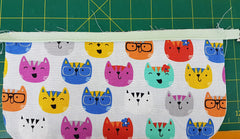
Place the other pocket piece right sides together and using the zipper foot again stitch close to the piping.
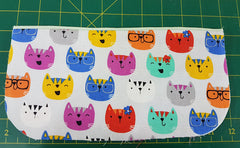
Cut off any excess piping and turn the pocket right side out. Press well.
Follow the rest of the Anne Pouch sewing tutorial instructions to make your beautiful Pouch

Sign up for our newsletter below for pattern news and discount codes!
