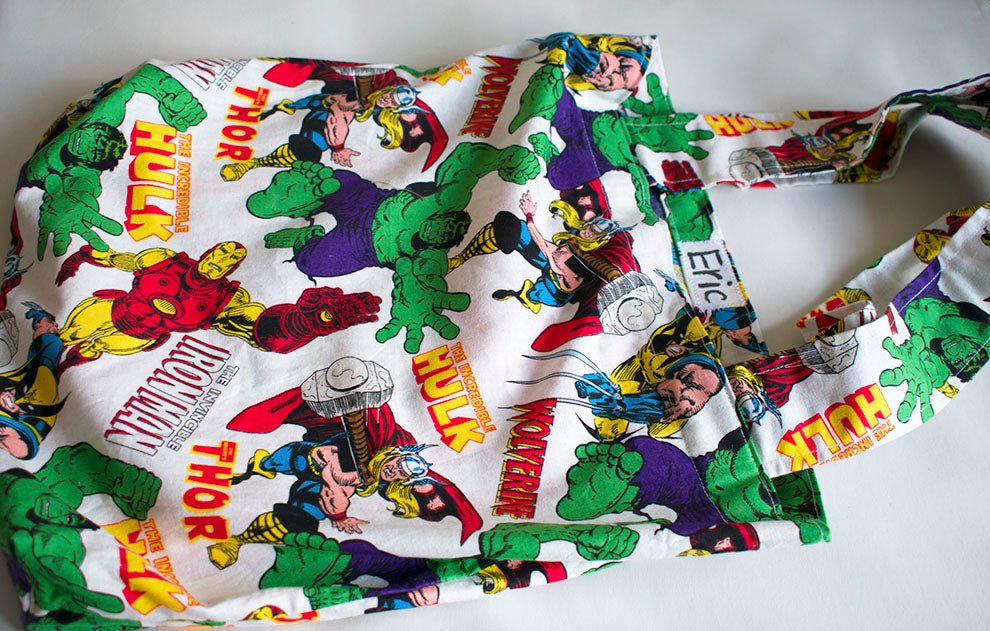
Back to School Library Bag with Name Tag
My big boy is off to school in February. I'm sad one minute joyful the next!
He is growing up, he will be learning, making friends and finding new interests.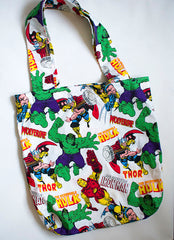

I don't know if he "needs" this library bag but he saw the fabric and had to have it! (Yep! my boy alright!) So i thought a nice library bag for him and a nice tutorial for you would be just the thing to keep my mind off my kids growing so fast!

This library bag has large handles which is great for little kids. it's so fast and easy to make.
It's good if you can serge/overlock or zigzag the inside edges as these bags will get well used and may need a good clean.
You'll need:
1 yard of fabric
Sewing machine
Scissors or rotary cutter (and mat)
Overlocker (optional)
Ruler
Marking tool/pencil
Cut pieces:
(2) 8" x 26"
(2) 14" (w) x 16" (h)
Handles:
Fold handles in half long ways and press.
Unfold and then fold to meet the centre line just created. Press.
Fold together and sew down each side 1/4".

The Bag:
Fold the top of each piece of the bag down 1 inch then 1 inch again. Press well
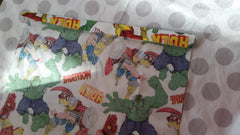
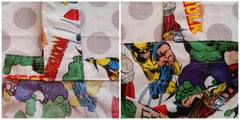
If you want to put on a name tag on the inside of the bag at this point you can.
Create a JPG of the name tag "picture" in paint.
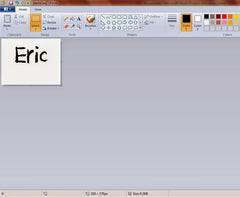
Open a new document in Word and inserted the picture
Click rotate then flip horizontal. Print onto T-shirt transfer paper.

If you have a light fabric or plain fabric you can iron the name straight onto the fabric.
My fabric has a lot of detail so i decided to put it on white broadcloth.

place the iron-on the transfer face down and press for 1 - 3 minutes

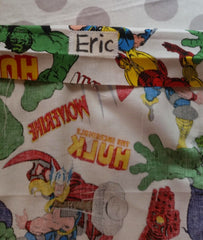
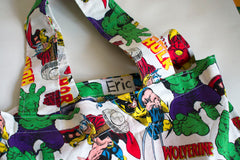
I added my iron on to the centre of one side on the inside with a zig zag stitch.
Once you've finished the name tag you can continue with the bag.
Place right sides together with the top unfolded and sew down each side and the bottom. Finish the edges with an overlocker or zig zag stitch.
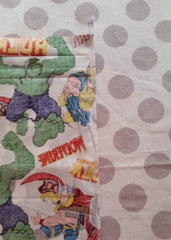
Create the bottom of the back by folding the corner seams on top of each other.
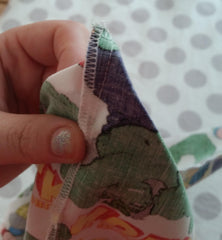
Measure 1 inch from the top and draw a line. Stitch on this line.
Clip 1/4 seam and overlock or zig zag the edge

Refold the top of the bag once.
Position the handle ends 2 inches from each side seam along the raw edge.
Ensure the handles are not twisted.
sew along the raw edge with a quarter inch seam allowance.

Fold the top of the bag again over again 1" as previously pressed and press again. Press up the handles and pin

Top stitch around the top of the bag the handles over the handles at 1/4 "
and 1/4 from the folded edge.
I hope your little one loves their library bag as much as mine does.
Sign up for our newsletter below for pattern news and discount codes!