Cutlery Pouch Sewing Tutorial
I have been wanting to make a cutlery pouch for work for quite a while and i am also wanting to add a metal straw. Now it's sitting on my desk reminding me of all of the pretty fabric i have at home waiting to be sewn!
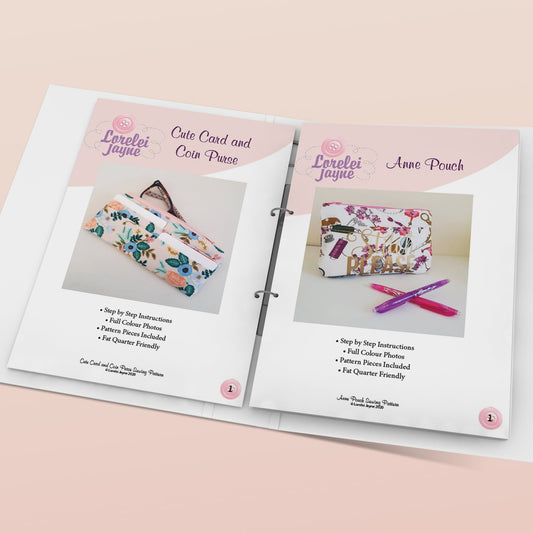
Download The Cutlery Pouch Sewing Pattern pieces.
This pattern is easy to cut out and sew! You can sew a bunch of these pouches fast by using my Quick Sew pouch tutorial
For this pouch you will need continuous zipper tape and zipper pull or a 10" zipper.
Cut 2 pouch pieces in exterior fabric, 2 pieces lining fabric and 4 pieces fusible interfacing (SF101 or similar).
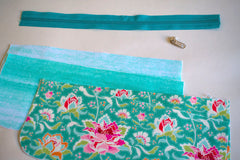
Fuse interfacing to each piece of the fabric, 2 exterior and 2 lining pieces.
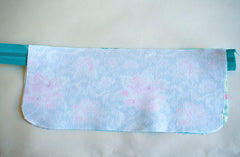
Place the zipper right side down along the top of the exterior piece of the pouch and place the lining piece on the wrong side of the zip. The zip will be in the sandwiched in between of these pieces along the top. leave 1″- 2″ wriggle room to put your zipper pull on one end.
See my continuous zipper video HERE to learn how to put a zipper pull on.
Sew along the top of the pouch 1/4" from the edge however you can use a zipper foot and sew close to the zipper teeth if you like. I stitch all the way down the length of the zipper. Open out and press these and attach the other sides of the pouch exterior and lining being careful to line up with the previous sides.
Open out and press these too. At this stage top stitch along the top near the zippers on each side.
On the side you are putting your zipper pulls on, cut a V like shown, it doesn't have to be perfect. I do it this way as i find it easier to hold the zipper tape.
Place one side of the zip though the zipper pull hole and the other side in as far as it will go, hold like shown use your other hand to pull the zipper pull.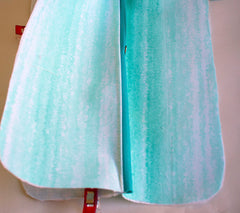
Ensure the zipper pull is in the middle of the case.
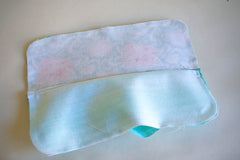
Place the lining pieces and exterior pieces right sides together. Face the teeth of the zip towards the lining (See above), this is important for the zip to sit correctly.
Sew each side of the pouch with a 1/4″ seam allowance. Trim the zip ends.
Leave a turning hole on the bottom of the lining piece 3″ long.
Pull the pouch right side out through the turning hole.
Press and the stitch the hole closes with and edge stitch.
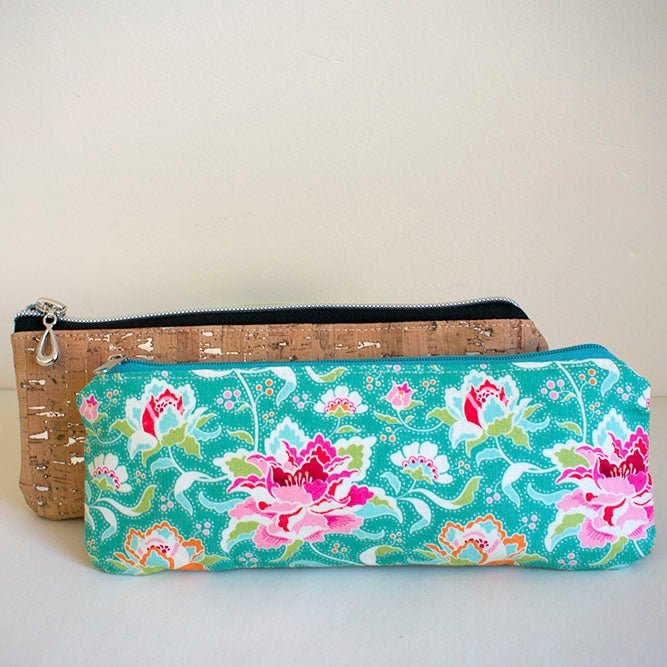
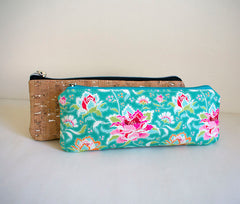
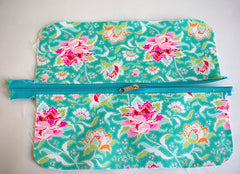
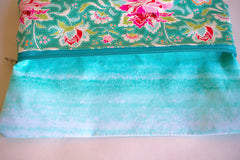
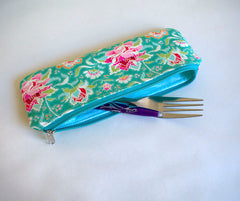
This Pouch makes a great cutlery pouch or pencil case!
Sign up for our newsletter below for pattern news and discount codes!