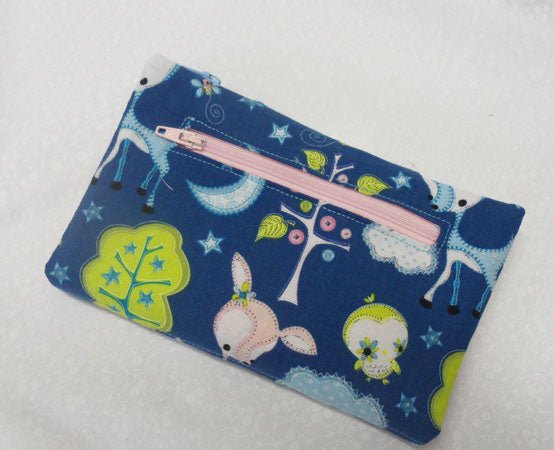
Installing A Zip Pocket
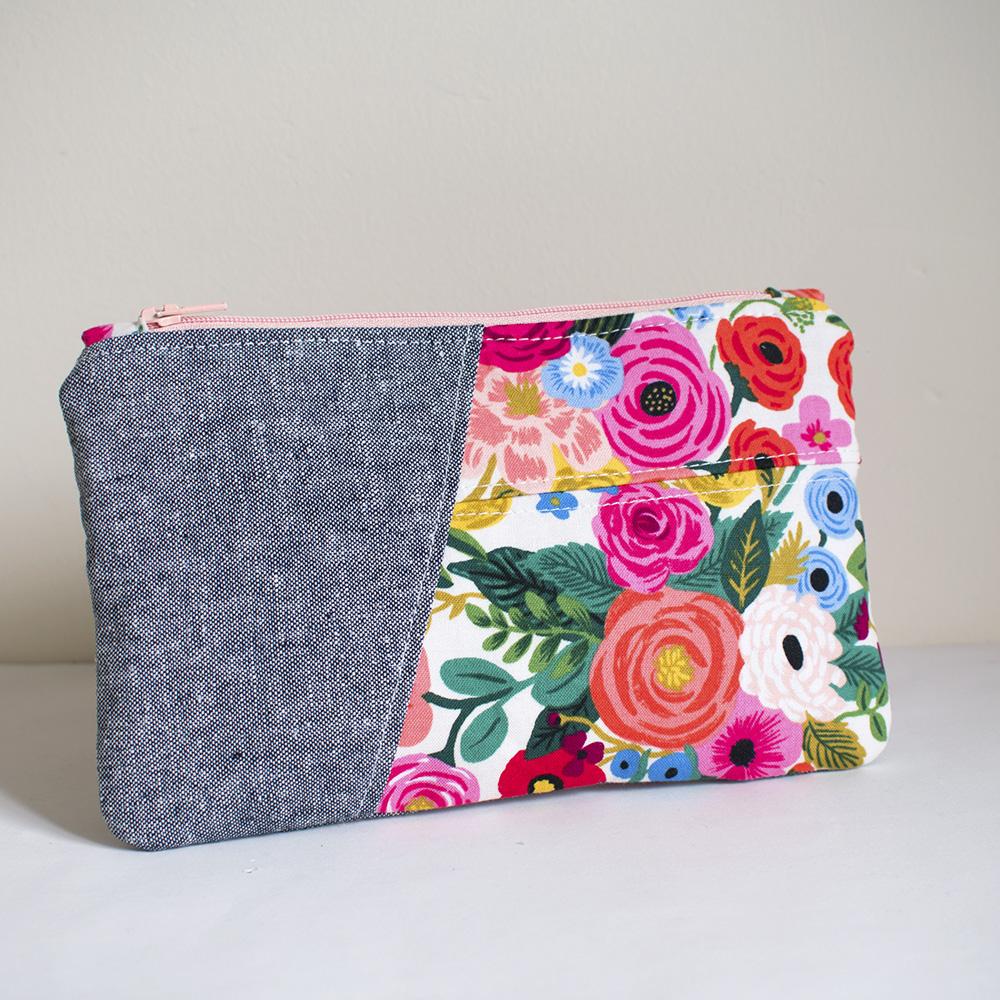
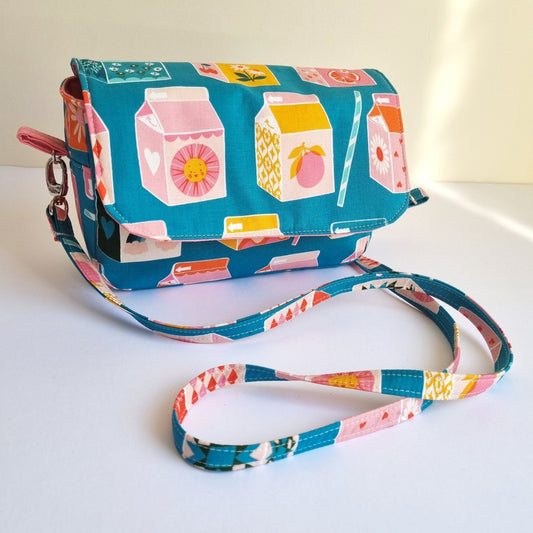
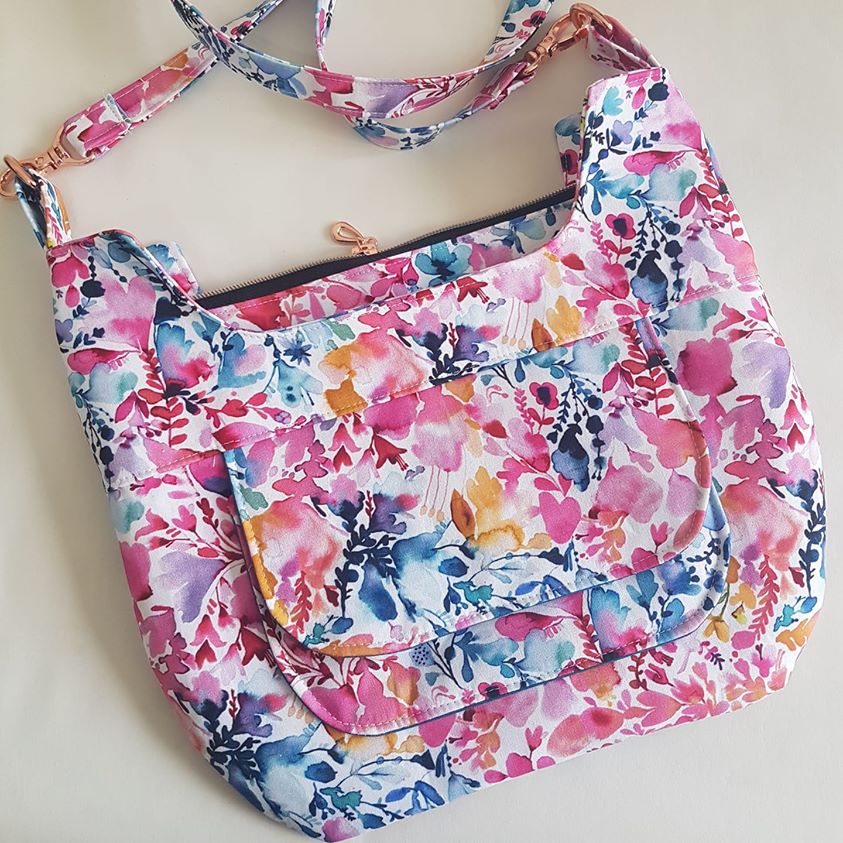
The Jenna Purse sewing pattern was recently released and I wanted to include some optional extras.
Although i'm giving this example for the Jenna Purse it can be used in any bag to create a zip pocket, especially in bag linings.
You'll need a 7" inch zipper or longer
for this tutorial I will be working with the pattern pieces for the Jenna purse.
You will need the (2) outer pieces, the outer Pocket piece and the Pattern for this tutorial:
The zipper pocket pattern piece can be downloaded HERE.
Follow the pattern instructions to put together the outer pocket piece.
Use the pattern piece to cut out 1 piece of lining fabric and mark the zip rectangle on the wrong side of this fabric piece.
Mark 1/2" down from the top (long side) of one of the outer pieces.
Place the fabric piece centred, right sides together with top along that mark.
Pin the pieces together and stitch around the rectangle you marked
Cut down the centre and into the corners being careful to not cut the stitches.
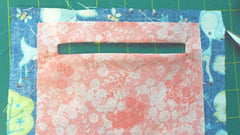
Pull the pocket piece lining though the hole. Press carefully, I always start with the small sides then the top and bottom of the hole.

Prepare the zipper by stitching the top closed with a stationary zig zag stitch. I set my stitch width to 5 and my length to 0. also remove the metal stoppers if it looks like you may sew over them!
Once well pressed, place the zip centred under the hole. Keep in place with pins or glue.

Edge Stitch around the hole.Fold the pocket lining piece up right sides together.
Stitch with a 3/8" seam allowance along the top and each side on the pocket lining only.
I do this from the top side and fold the outer purse piece sides back while i sew.
Ensure you only sew the pocket lining and not the outer purse piece.


You've finished your outer purse piece with additional pocket!
Now follow the pattern instructions to finish the outside of your purse!

I love how this cute purse turned out!
Sign up for our newsletter below for pattern news and discount codes!
