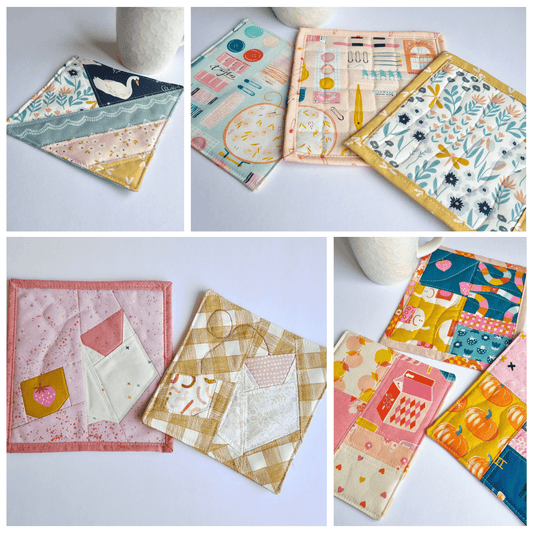
Easy to make Mug Rug Labels
Adding labels to your mug rugs or quilts is a great way to add a personal touch. In this guide, I’ll show you how to use my PDF of mug rug and quilt labels with iron-on transfer paper and explore some other fun methods, like printing directly on fabric.
You’ll need:
• Iron-On Transfer Paper
• Inkjet or Laser Printer (based on transfer paper)
• Iron and Ironing Board
• Fabric for Your Mug Rugs
Load your Iron-On transfer paper according to your printer instructions.
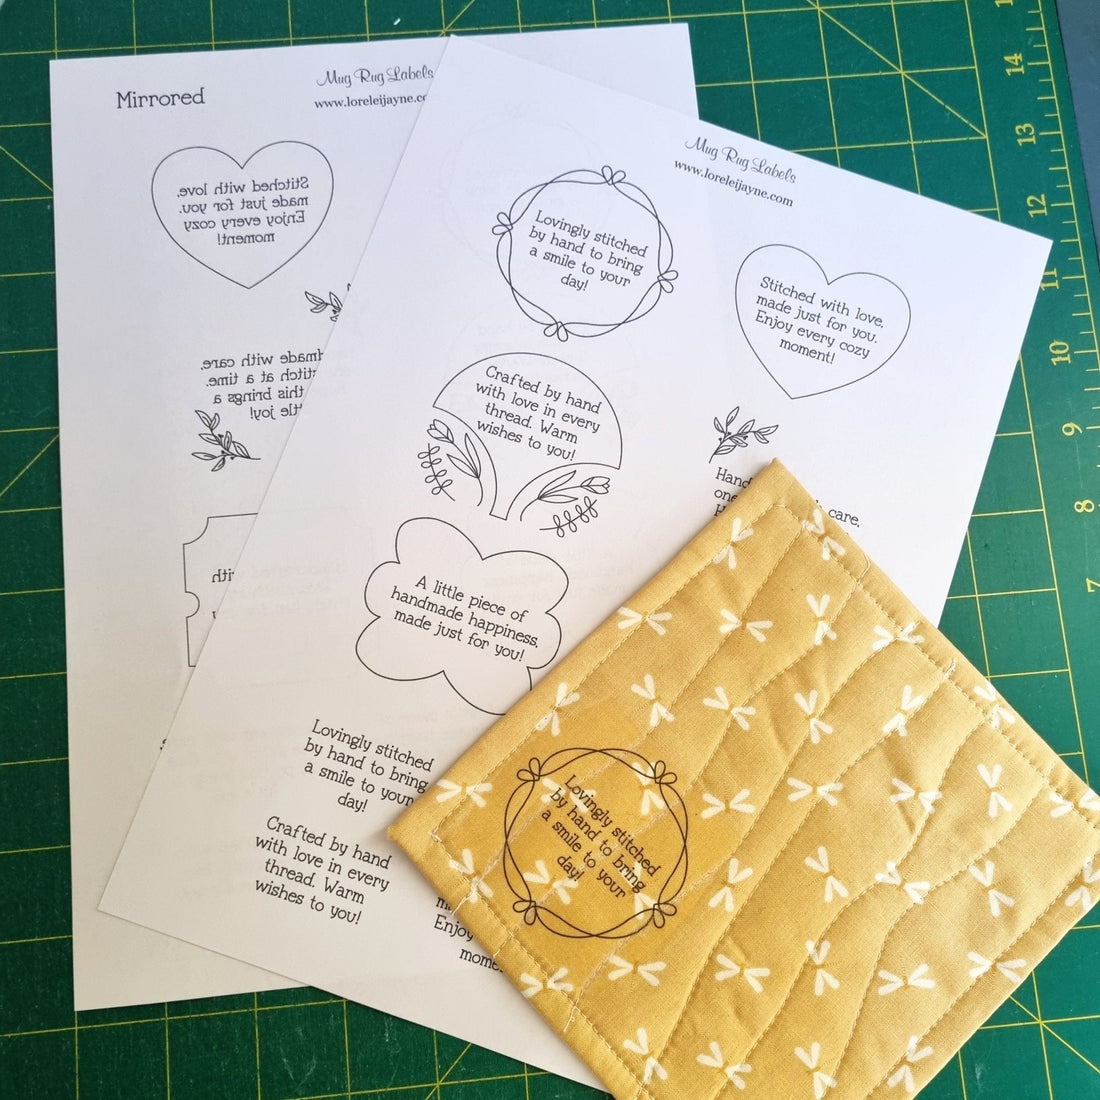
Print the mirrored version of your chosen label so it transfers correctly onto the fabric. Trim Around the label to remove any excess paper.
Place the label on the back of your mug rug or if adding before sewing place on the back fabric.

Press/Iron according to transfer paper instructions to set the label in place, pressing firmly for best results.

Peel Back the Transfer Paper to reveal the label, my instructions said to do this once the paper and fabric is cool.

For those looking to experiment, here are two other ways to apply your labels:
Use Freezer Paper to print directly on fabric with a ink jet printer. Attach fabric to freezer paper and run it through your printer to print labels directly. This works well for smaller projects like mug rugs!
Use printable fabric sheets, these go straight into your printer and yield professional results. Just print and stitch labels to your project.
Adding labels to your mug rugs and quilts is such a beautiful finishing touch especially if giving them as gifts, from personal experience, the grandparents love this!. Try out these methods to find your favorite, and don’t forget to tag me or share your creations!
