
Thin Pencil Case Sewing Tutorial
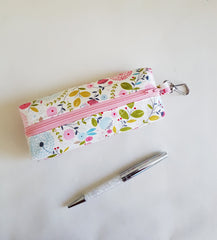
As always my tutorials come from some need.. if not by me then my friends and family. A friend told me how her daughter wanted this really expensive pencil case that was "nothing special" and not handmade and wouldn't even fit that many pencils in it.
I being a huge stationary lover can understand it doesn't have to be that useful... just a little useful and cute! So i thought i would take what she described "a thin pencil case" and interoperate that into cuteness and a tutorial for said cuteness.
It's useful too because this pencil case fits a few pens and it can attach to folders or handbags. Now of course i have a list of people who want one...
This tutorial is for personal use only. If you wish to make these to sell you can get the full pattern with a bunch of other patterns in my bundle.
Let's get started on the Thin Pencil case
The Seam Allowance is 3/8"
You'll need the following:
(2) Exterior fabric pieces 4" x 8"
(2) Fusible interfacing 4" x 8", i use SF101 (optional)
(2) Lining pieces 4" x 8"
(1) Exterior piece 2" x 2" for the Swivel hook tab.
(1) 10" zipper or larger. You can use smaller but i like it super easy!
and 1 small Swivel hook
You can also just use a D or O ring
First lets make the tab for the swivel hook
Fold the 2"x 2" piece in half, unfold and fold each side to meet the middle and fold in half again.
Top stitch 1/8" down each side.
Fold this over your hook loop ready to attach to the case.
Fuse the fusible interfacing to the wrong side of the exterior fabric pieces. You can making this pouch without this. The pouch will be more stable with it.
Now the zip! Don't be afraid this is easy.
I didn't actually use a zipper foot for this project just my regular one. Sandwich the zip in between the lining and the exterior on the raw edge.
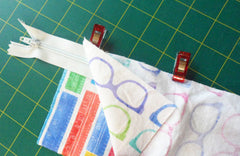
Ensure the exterior fabric is facing the right side of the zipper and line it all up carefully.
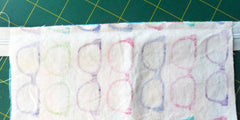
I put it right in the middle of the zipper that way i don't have to worry about the zip pull. Once side one is attached fold out and top stitch.
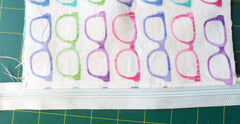
Attach the other side the same way, top stitch too.
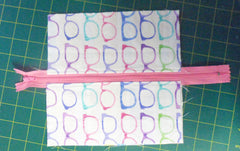
Open the zipper
Take each side of the same fabric and match right sides together and sew 3/8" along the bottom.
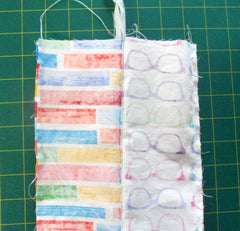
Press open these seams.
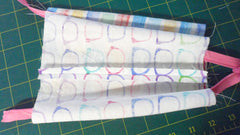
Reach through and pull the case right side out.
Attach the Swivel hook tab with the hook looped on it, to the right side of the exterior fabric at one end on the bottom (the seam you just created)

*** Ensure the bag is wrong side out and the zip is now close to the center of the case.
Center the zipper and pin the sides.
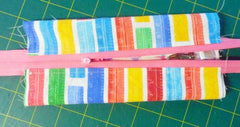
Sew down each side, Cut off the excess zipper tape and finish these seams with an overlocker or zig zag stitch.
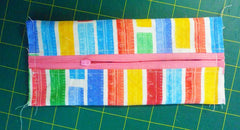
Open the zipper
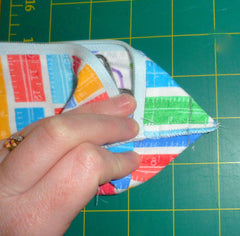
Make the boxed corners by pushing the corners flat and sewing 1/2" in from the each corner.
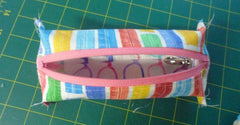
Turn your pencil case right side out and enjoy.
These are so fun to make!
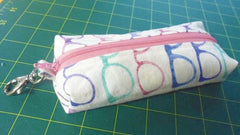
If you enjoyed this tutorial check out my other ones and Sign up for our newsletter below for pattern news and discount codes!

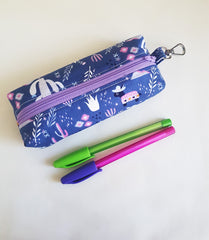




1 comment
I love the pen case , from Trinidad