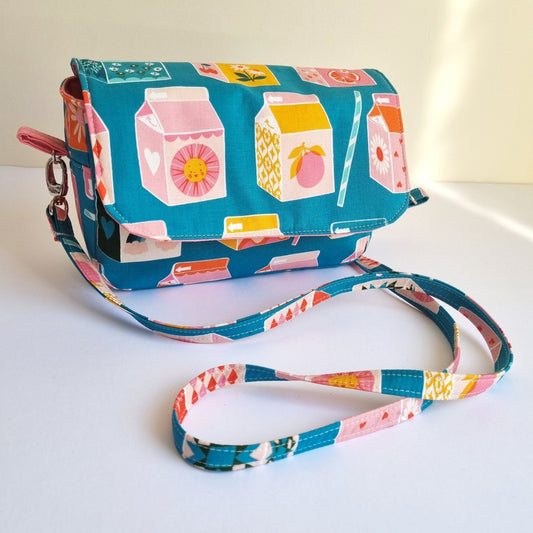
The BG Bag looks so good with a recessed zipper and i wanted to show everyone how to install one, not just on this bag but any bag! It looks so good and it makes the bag look so professional! I hope you buy the
BG Bag pattern in the shop and have a go!
This post contains affiliate links.
You've done your pleat and darts but have not yet attached the lining upper to the lining main of your bag.
This is the time to make and attach a recessed zip!
You'll need:
1 x 14" Zipper.
(4) x 16"x 2" pieces of fabric. (2 match your exterior and 2 match your lining)
2 x 3" x 3" in the exterior fabric for zipper tabs.
Read though once before beginning!
First we prepare the zip. This will save you from accidentally breaking your zip. Remove the zipper stop/s (silver thing at the bottom (and top sometimes). And zigzag over where it was a few times.
I also like to sew my ends together like this so they don't move while i'm sewing the tabs. I also make my zip ends square i don't like the zig zag bits on each end.
Take your zip tab pieces. Fold the sides into the middle,
Fold over the piece, over your zip end and top stitch. Cut off the over hang on each side of the zip so it's in line with the zip. Do this for each end of your zip.
Once you have your zipper tabs your ready to piece it together. Lay your lining piece face up on the table. then lay your zip right side UP on top of that. Put the piece that will be the top (the bit you see when looking in the bag) on top right side down
*The top and lining is longer that the zip! Its a sandwich, with the zip in the middle!
This is the bit that will give it the professional look! Fold over the extra bits at the end towards the lining piece! Ensure this is a tight fold! Also it doesn't have to look perfect, if one piece is longer than the other that is OK, No one will know!
Sew using a zipper foot down the zip and ensure you move the zipper pull when you need to.
Turn your pieces right side out press away from the zip teeth.
Doesn't it sit fantastic! top stitch the sides and along the zip. Do all that again with the other side of the zip.
To install your lovely zip you find the centre of the zipper piece and mark on each long edge. line this up with the centre of your main piece. (the centre of your pleat! easy) You want the lining of the zipper part against the right side of your main piece. So you can see the exterior fabric of your zipper. Place the upper piece right side down on top of this.
Sew along with a 3/8" seam just like you would in the pattern.
Do this for the other side of the lining and zipper. Follow the BG Bag pattern to put the bag together and Enjoy! Lovely Katrina from
My Crafty Retreat tested out this tutorial on her Brocade and Satin BG bag and had lots of fun! She added a few things to her BG bag, internal phone pocket, a full front panel lined pocket with magnetic closure and the supported handles with them being lengthened slightly and sewn on over the top panel and into the seam. Check out Katrina's blog called
My Crafty Retreat and she blogs about her crafting journey including her testing my patterns. Her photos are amazing!
You can use this in other bags too by making the lining of the bag 2 pieces. Remember to always include seam allowance when changing the lining pieces of other bags. I'd love to see your
BG bags on social media! use #loreleijayne
Sign up for our newsletter below for pattern news and discount codes!


