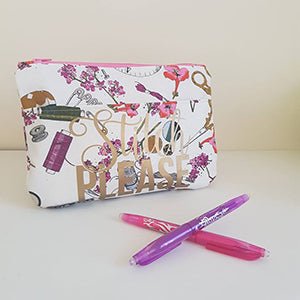
Anne Pouch Sewing Tutorial
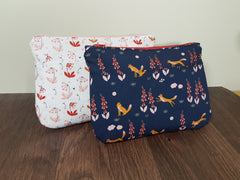
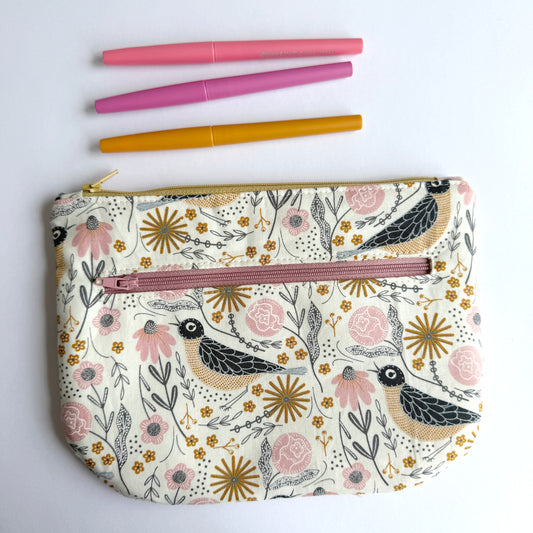
I made this pouch for my mum as part of her Christmas present and i am naming it after her too. Introducing the Anne Pouch Sewing tutorial.
What i love about pouches is that they can be used for what ever you want. This one is no exception, add a wrist strap and it's a wristlet, use it as a clutch, a makeup bag, a pencil case.
This project is fat quarter friendly and really quick to sew.
The Anne Pattern Pieces are can be downloaded here.
Lets get started!
This is what you need:
1 x 10" zip
1 x 1/2" (14mm) magnetic snap
1/4 Yard of Exterior Fabric
1/4 Yard Lining Fabric (or less)
1/4 Yard light fusible fleece (vilene 630)
1/4 Yard light/medium weight interfacing
*This post contains affiliate links*
The Pattern Pieces are can be downloaded here.
Prepare the zip. Move the zipper pull to the centre of the zip and cut the zip to be 9"
Cut 2 Zipper tabs 2 1/2" x 1 1/2"
Fold each zipper tab in half, short sides wrong sides together. Open out and fold each short end in to meet in the centre. Press and fold over and press. Fold the tabs over each end of the zipper and stitch 1/8” from the folded edge.
Fuse the Fleece to the exterior pieces and the interfacing to the lining pieces.
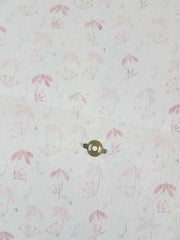
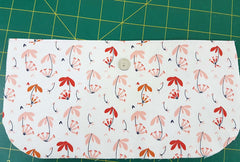
Fold the pocket Piece in half measure down 1" from the centre on the back half of the pocket or use the pattern piece for the magnetic snap.
***If you're using directional fabric (like me) be careful when you are installing the male part of the magnetic snap to the back side of the pocket so you wont see from the front.
Mark the snap holes using the snap backing plate. Use a seam ripper to carefully make the small holes.
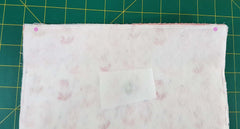
Ensure the snap is on the right side of the fabric. Put the backing plate over the prongs and push them down. Fuse a scrap piece of fusible fleece over the prongs.
Fold again and press well, Top stitch along the fold with a 1/8" seam allowance.
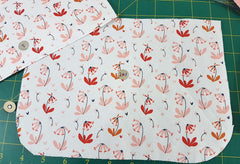
I mark the snap on the Bag piece by placing some marker ink on the male snap part, lining it up on the bag piece and pressing down. or you could use the pattern piece.
The ink will go on to the exact part you need to place the female side of the snap.
install it just like you did the male side.
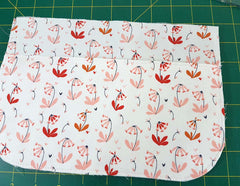
Place the pocket and pouch piece with snap put together. Baste stitch (larger stitches) around the sides bottom.
Your pouch is ready to be sewn together.
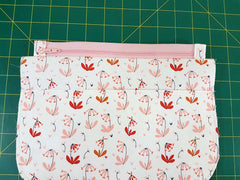
Place the zipper centred right sides together (zipper pull down) on top of the external pouch piece. Place the lining on top of the zip.
Use pins, glue or use clips while sewing a 1/4” from the raw edge down the zipper starting on the zipper tab and finishing on the other zipper tab. This will ensure that square look at the top of the pouch.
Open out, press pieces away from the zipper.
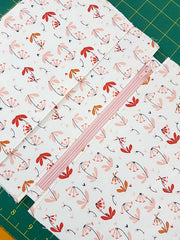
Attach the exterior and lining to the other side of the zip the same way being careful to ensure that the fabric lines up with the other side as best you can. Open out, press pieces away from and top stitch on both 1/8” away from the zipper.
Pull the Zipper pull to the centre!
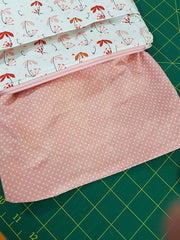
Now match up and pin the two front pieces together and the two lining pieces together. Ensure that the zipper teeth point towards the lining.
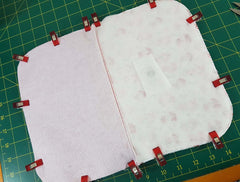
Stitch around the Pouch with a 3/8" seam allowance leaving a 4" hole at the bottom of the lining for turning.
Using the hole you left in the lining reach through and pull the pouch right side out. Once the pouch is right side out fold in the hole and top stitch it closed. Put the lining into the bag and give the pouch a good press.
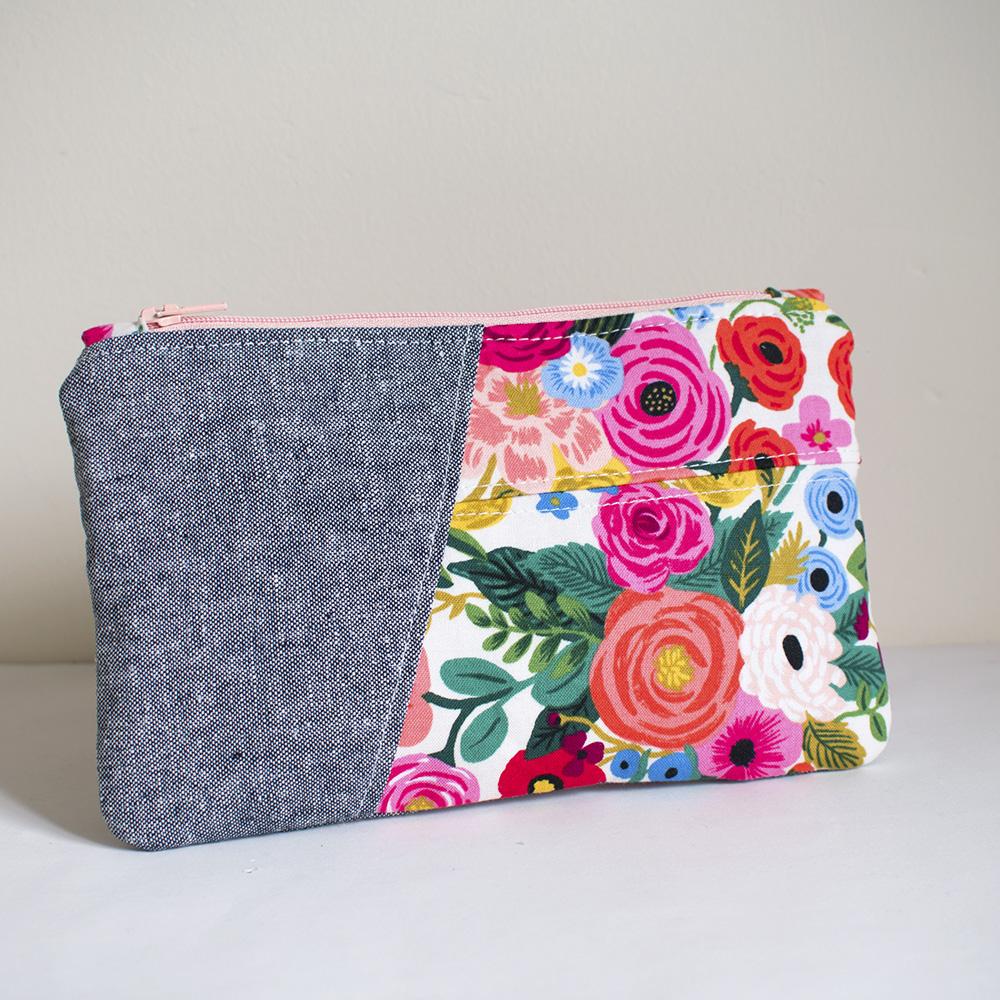
I hope you love your Anne pouch as much as my mum loves hers!
For more awesome tutorials like this one take a look at the tutorials on my blog




3 comments
Did not get the pattern for Anne pouch.
Hello,
Would you have a video on this by any chance?
I have the fabric, interfacing, zippers, everything. My daughter wants a zippered llama pouch and am horrible at not letting the seams inside not show
This is such a great pouch! I’ve lost track of how many I’ve made for teacher’s gifts this year. Even so, I’m usually unhappy with how the zipper tab meets the pouch. When you sew around the pouch, do you catch the zipper tab in the seam allowance? I think it looks better when I don’t sew the tab in the seam allowance, but it usual only looks good on one side. What do you do to make the zipper tabs both square to the pouch?