Beautiful Fabric Swatches
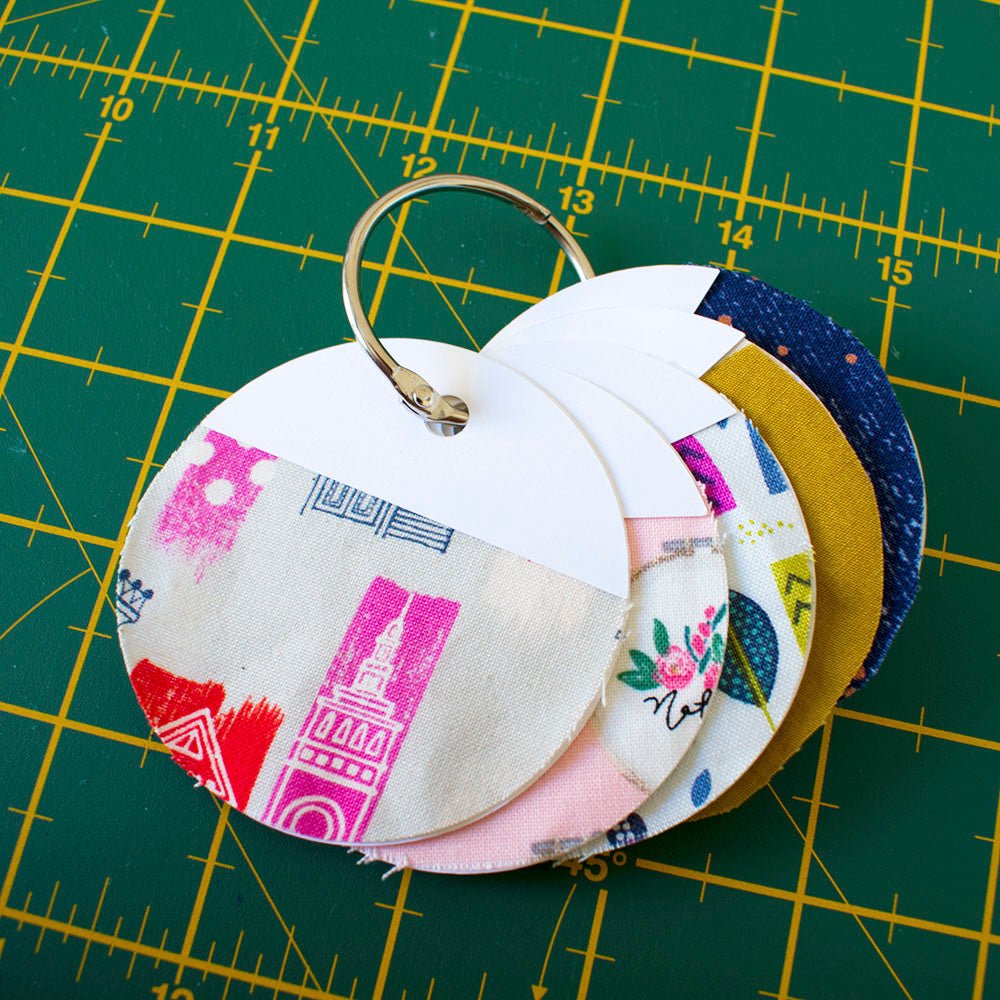
I've wanted to create a swatch ring for my fabric's for a while now. I wanted swatches for my most used fabric types with the interfacing that i use often attached so that i can easily see what stabilisers would go best with the type of fabric i am using. However you could swatch your fabric as you purchase and put in your stash and you'll always know what you have. I may end up doing this at some point.
I have created a FREE printable and SVG file for a fabric cutting machine like a Cricut maker or brother scan and cut.
- Card, i prefer a medium weight.
- A hinged ring, these are available in the scrapbooking section of the craft store. If you don't have one you could use embroidery floss or yarn to make a ring.
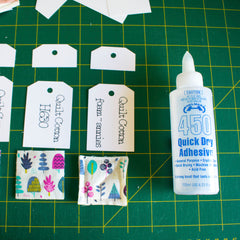
- Glue, this should be strong enough for card and fabric, i use 450 Glue
- Hole punch
- Scissors (or cutting machine)
- Fabric.
Simply print the Printable at 100%, check the 1" square = 1" and cut out the templates. Use these templates on your card, tracing around on the card to get the number of swatch cards you desire. The hole can be punched once the swatches are put together.
Since i have a Cricut maker i used the SVG file to cut the cardboard and fabric pieces. I've made a video of how i made mine with my maker below.
Once the fabric and cards are cut, it's time to put it all together.
Place glue along top of the wrong side of the fabric pieces. Glue to the card so that the fabric covers to the bottom of the card.
Place glue on the wrong side of the topper card pieces and glue to the top of the swatch cards, this should overlap the fabric piece slightly.


Trim any excess Fabric. Punch holes for the ring.
I hope you like this tutorial as much as i do, its inspiring me to perhaps make a swatch of my stash!
