


Lorelei Jayne
Card and Coin Pouch PDF Sewing Pattern with video tutorial
Card and Coin Pouch PDF Sewing Pattern with video tutorial
Couldn't load pickup availability
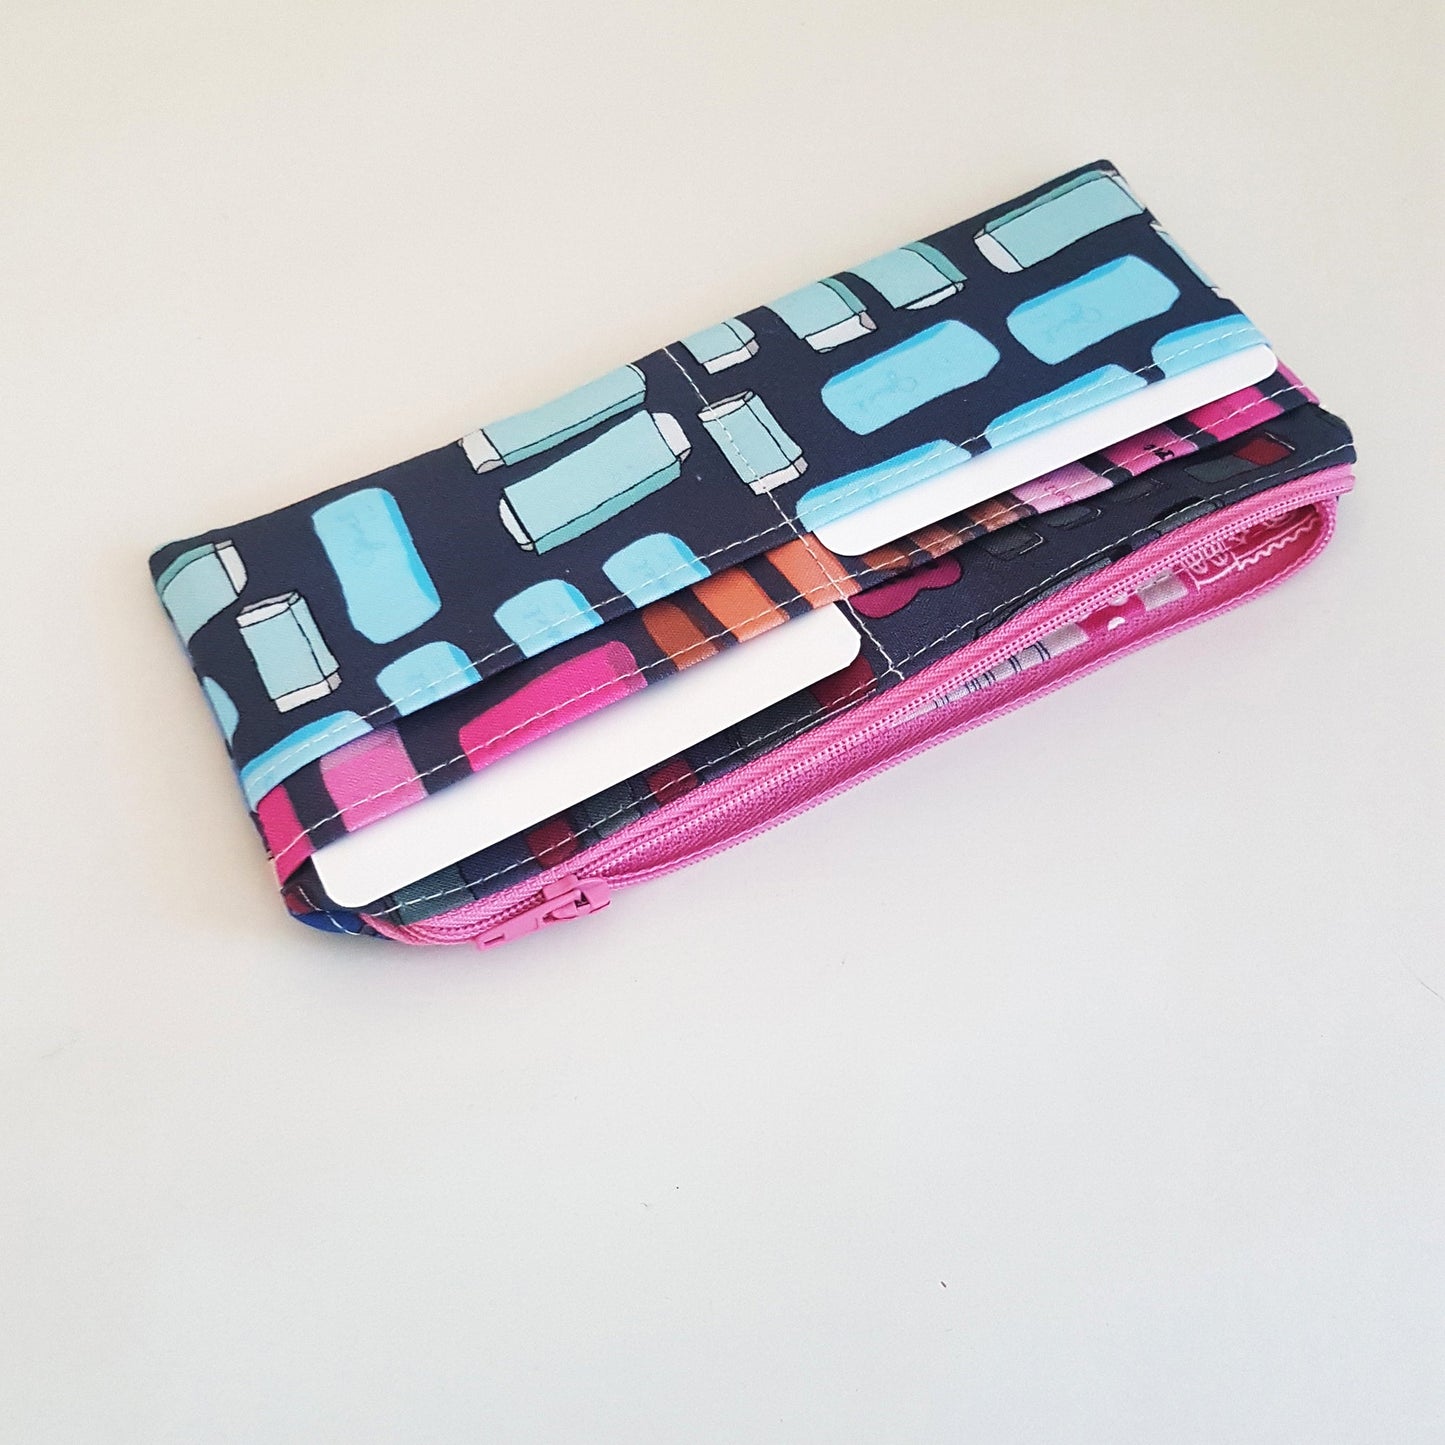
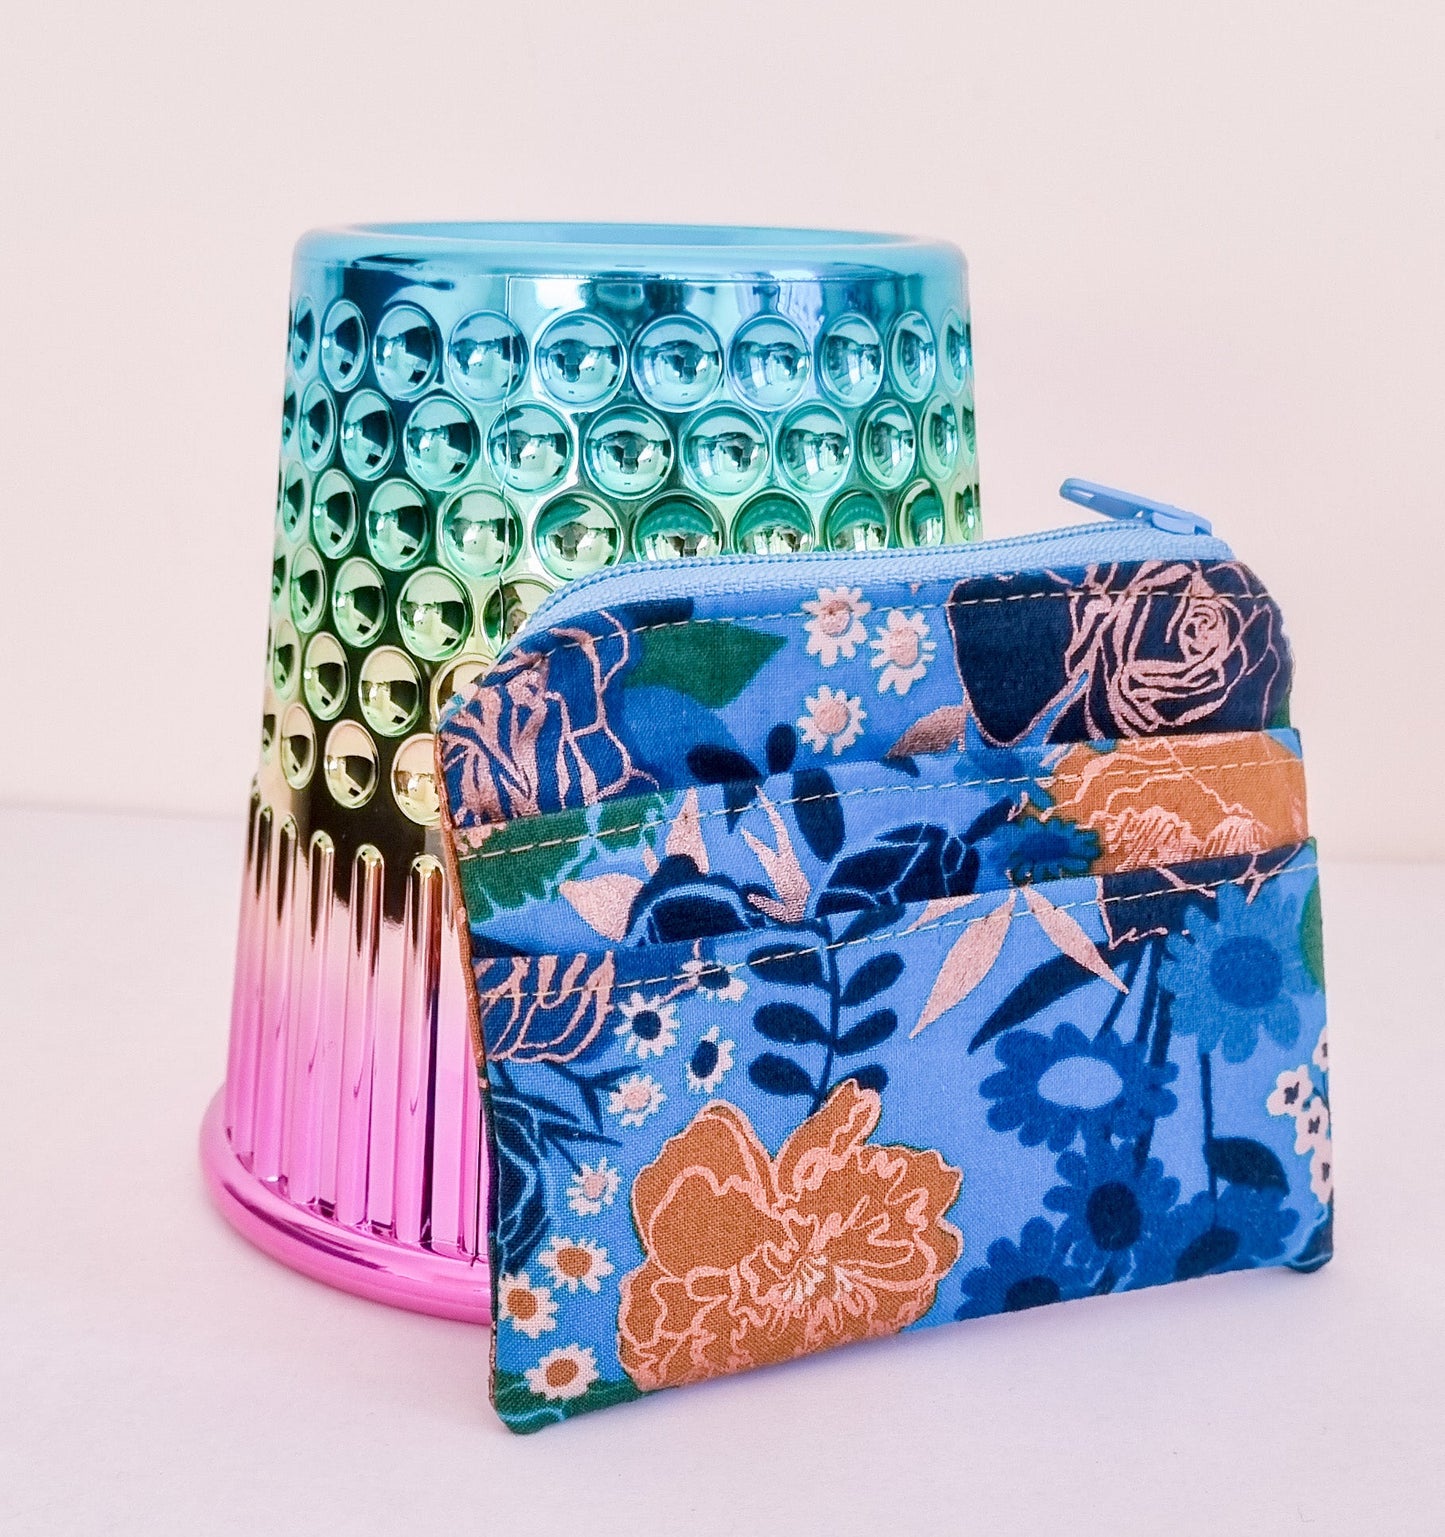
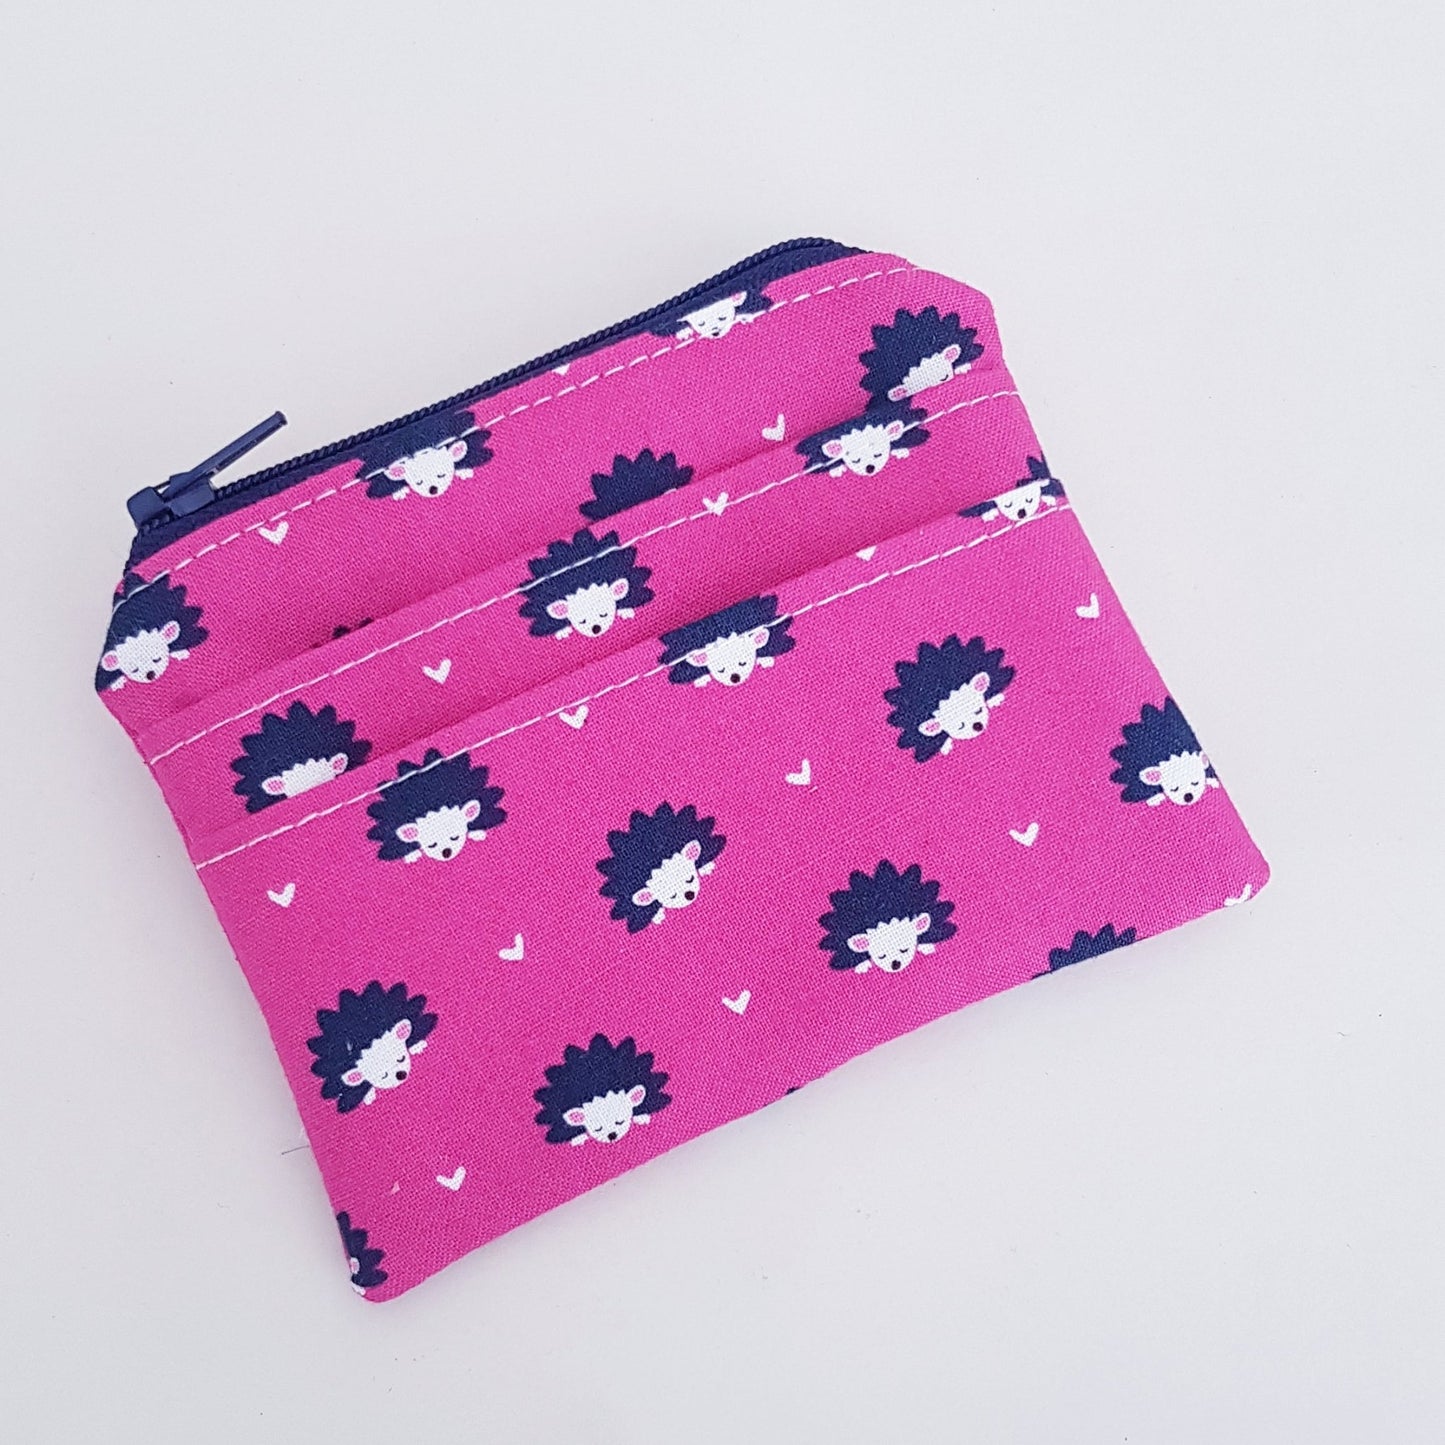
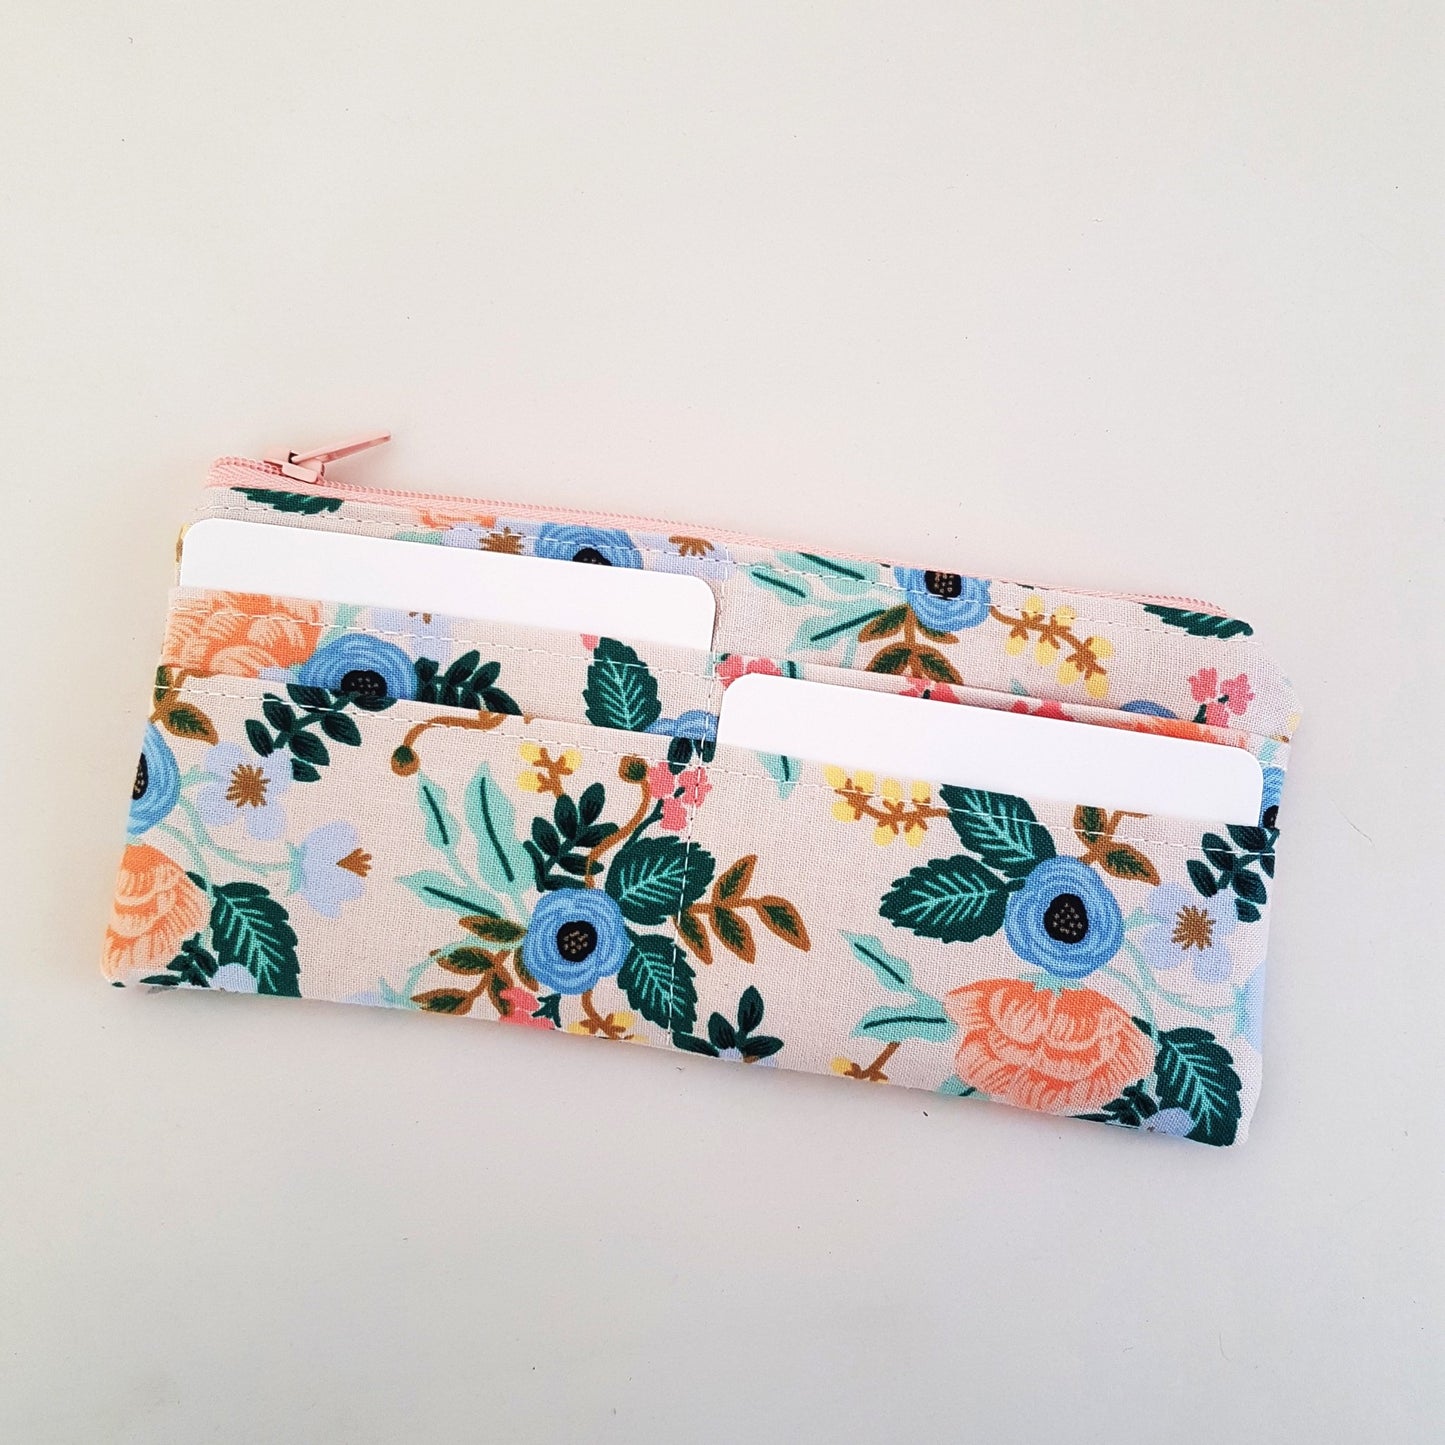
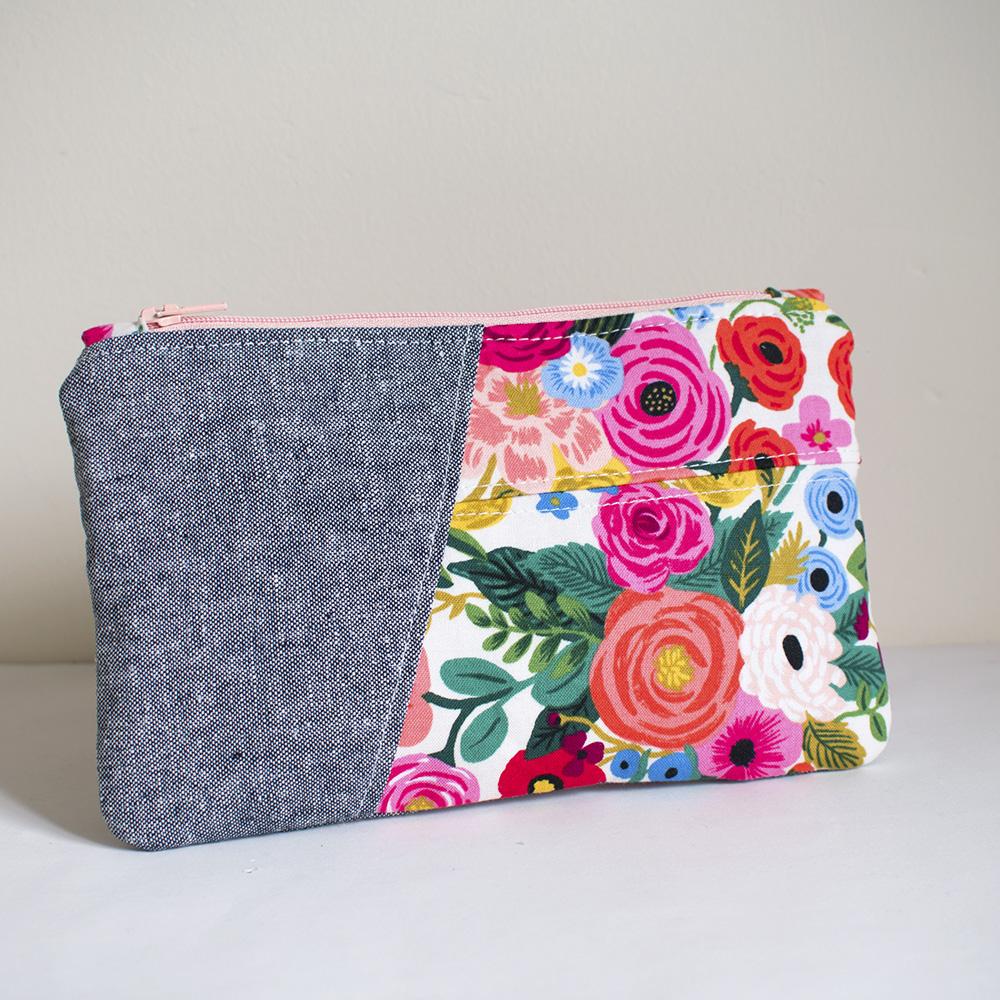
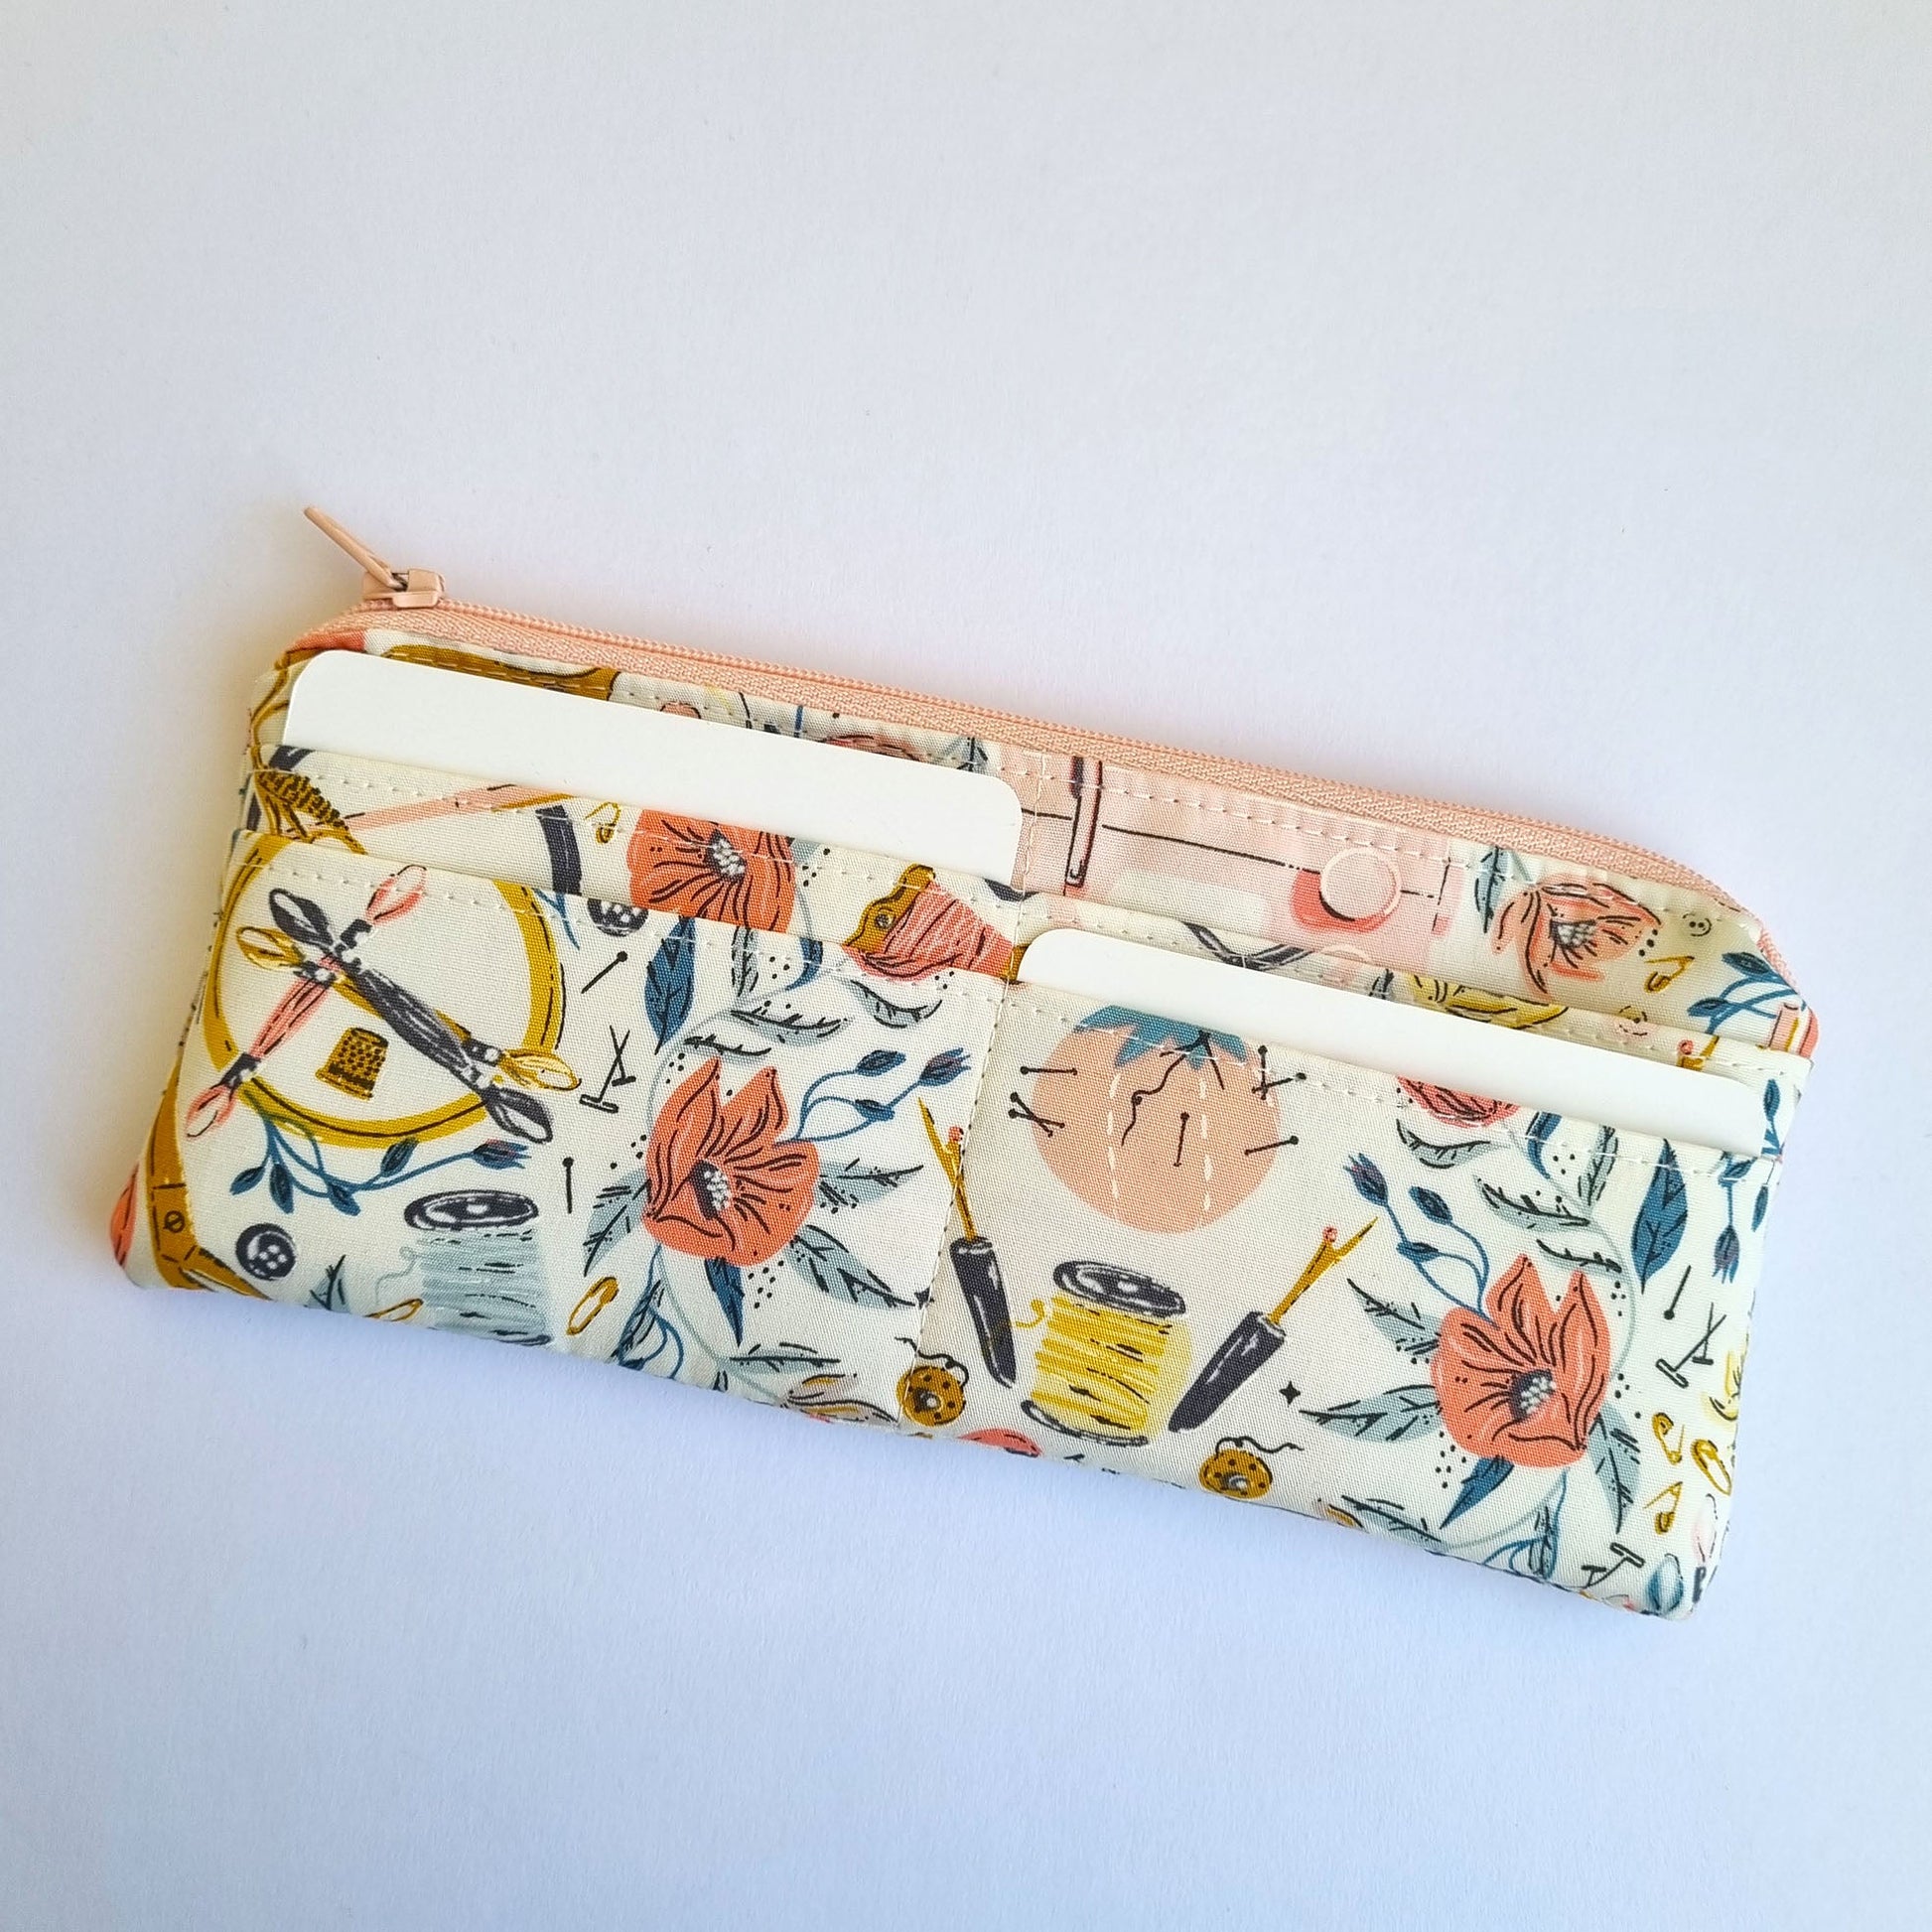
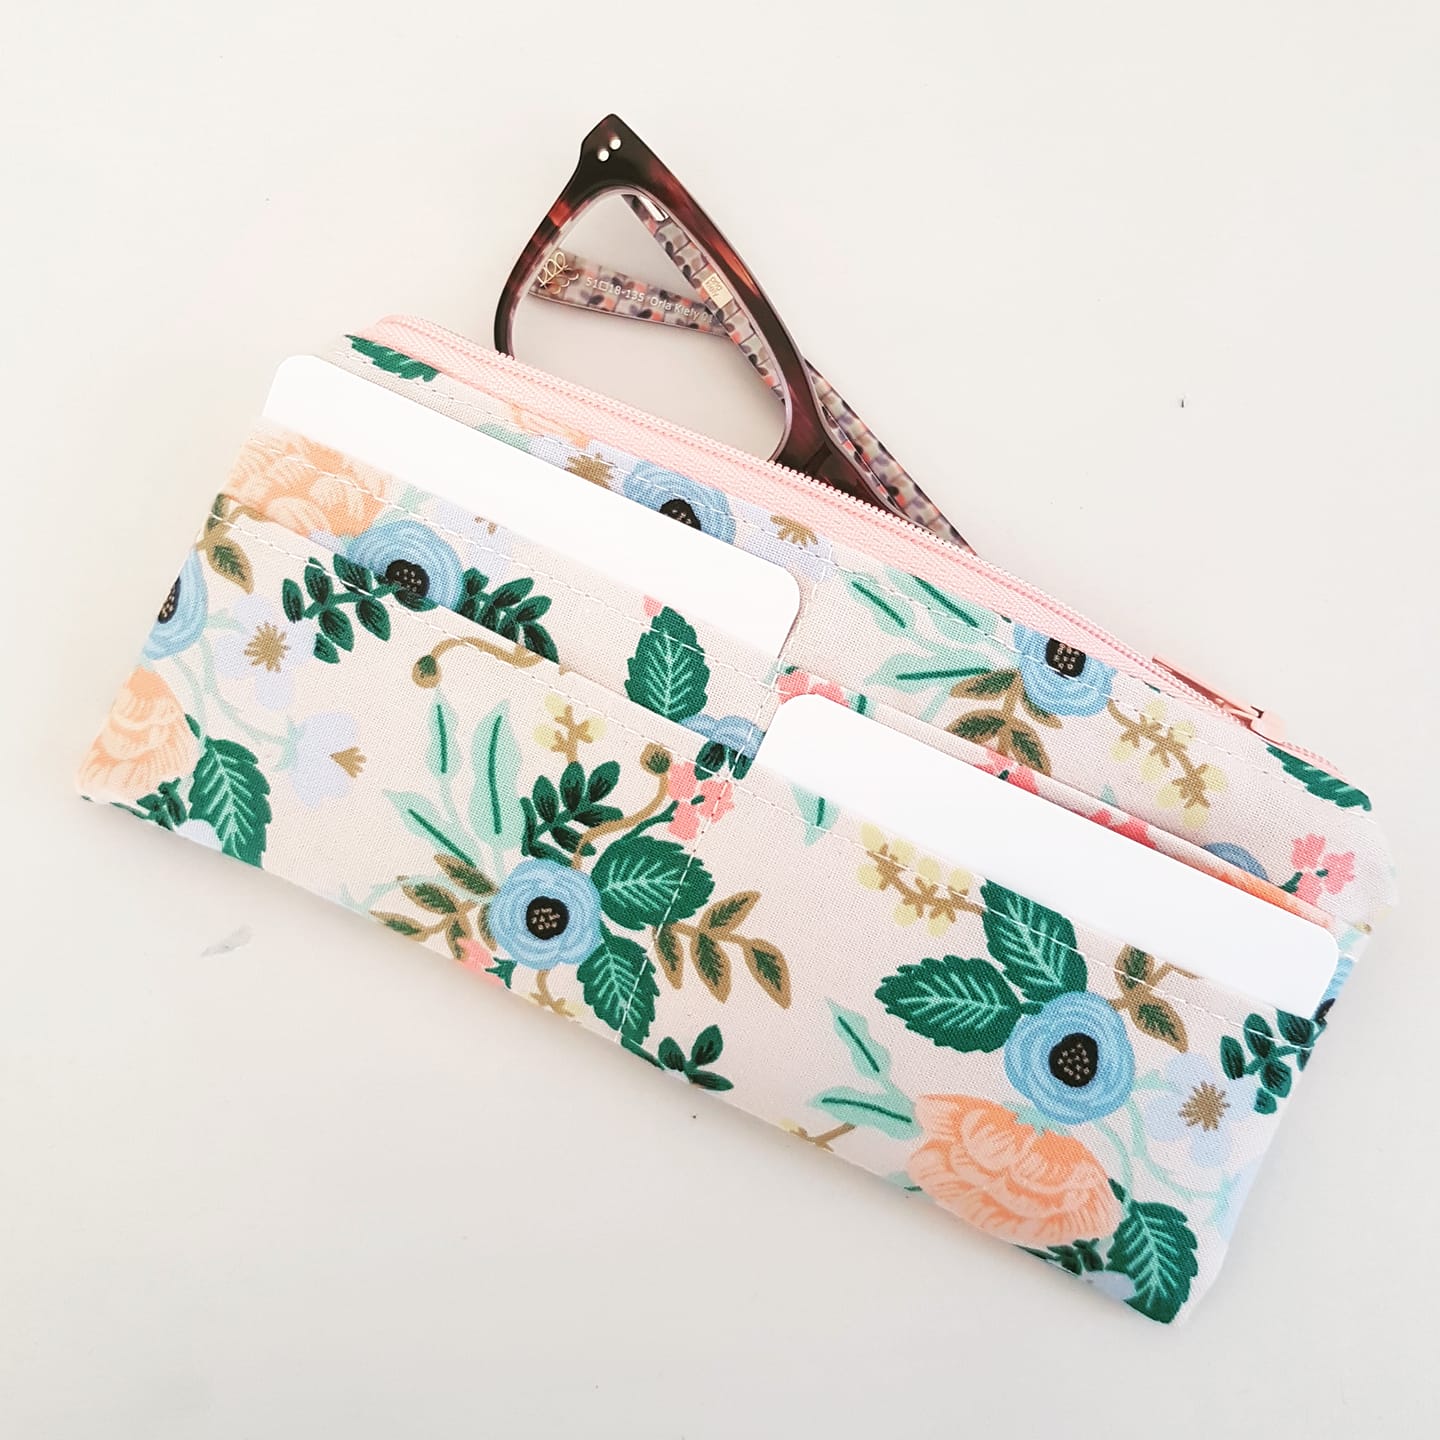
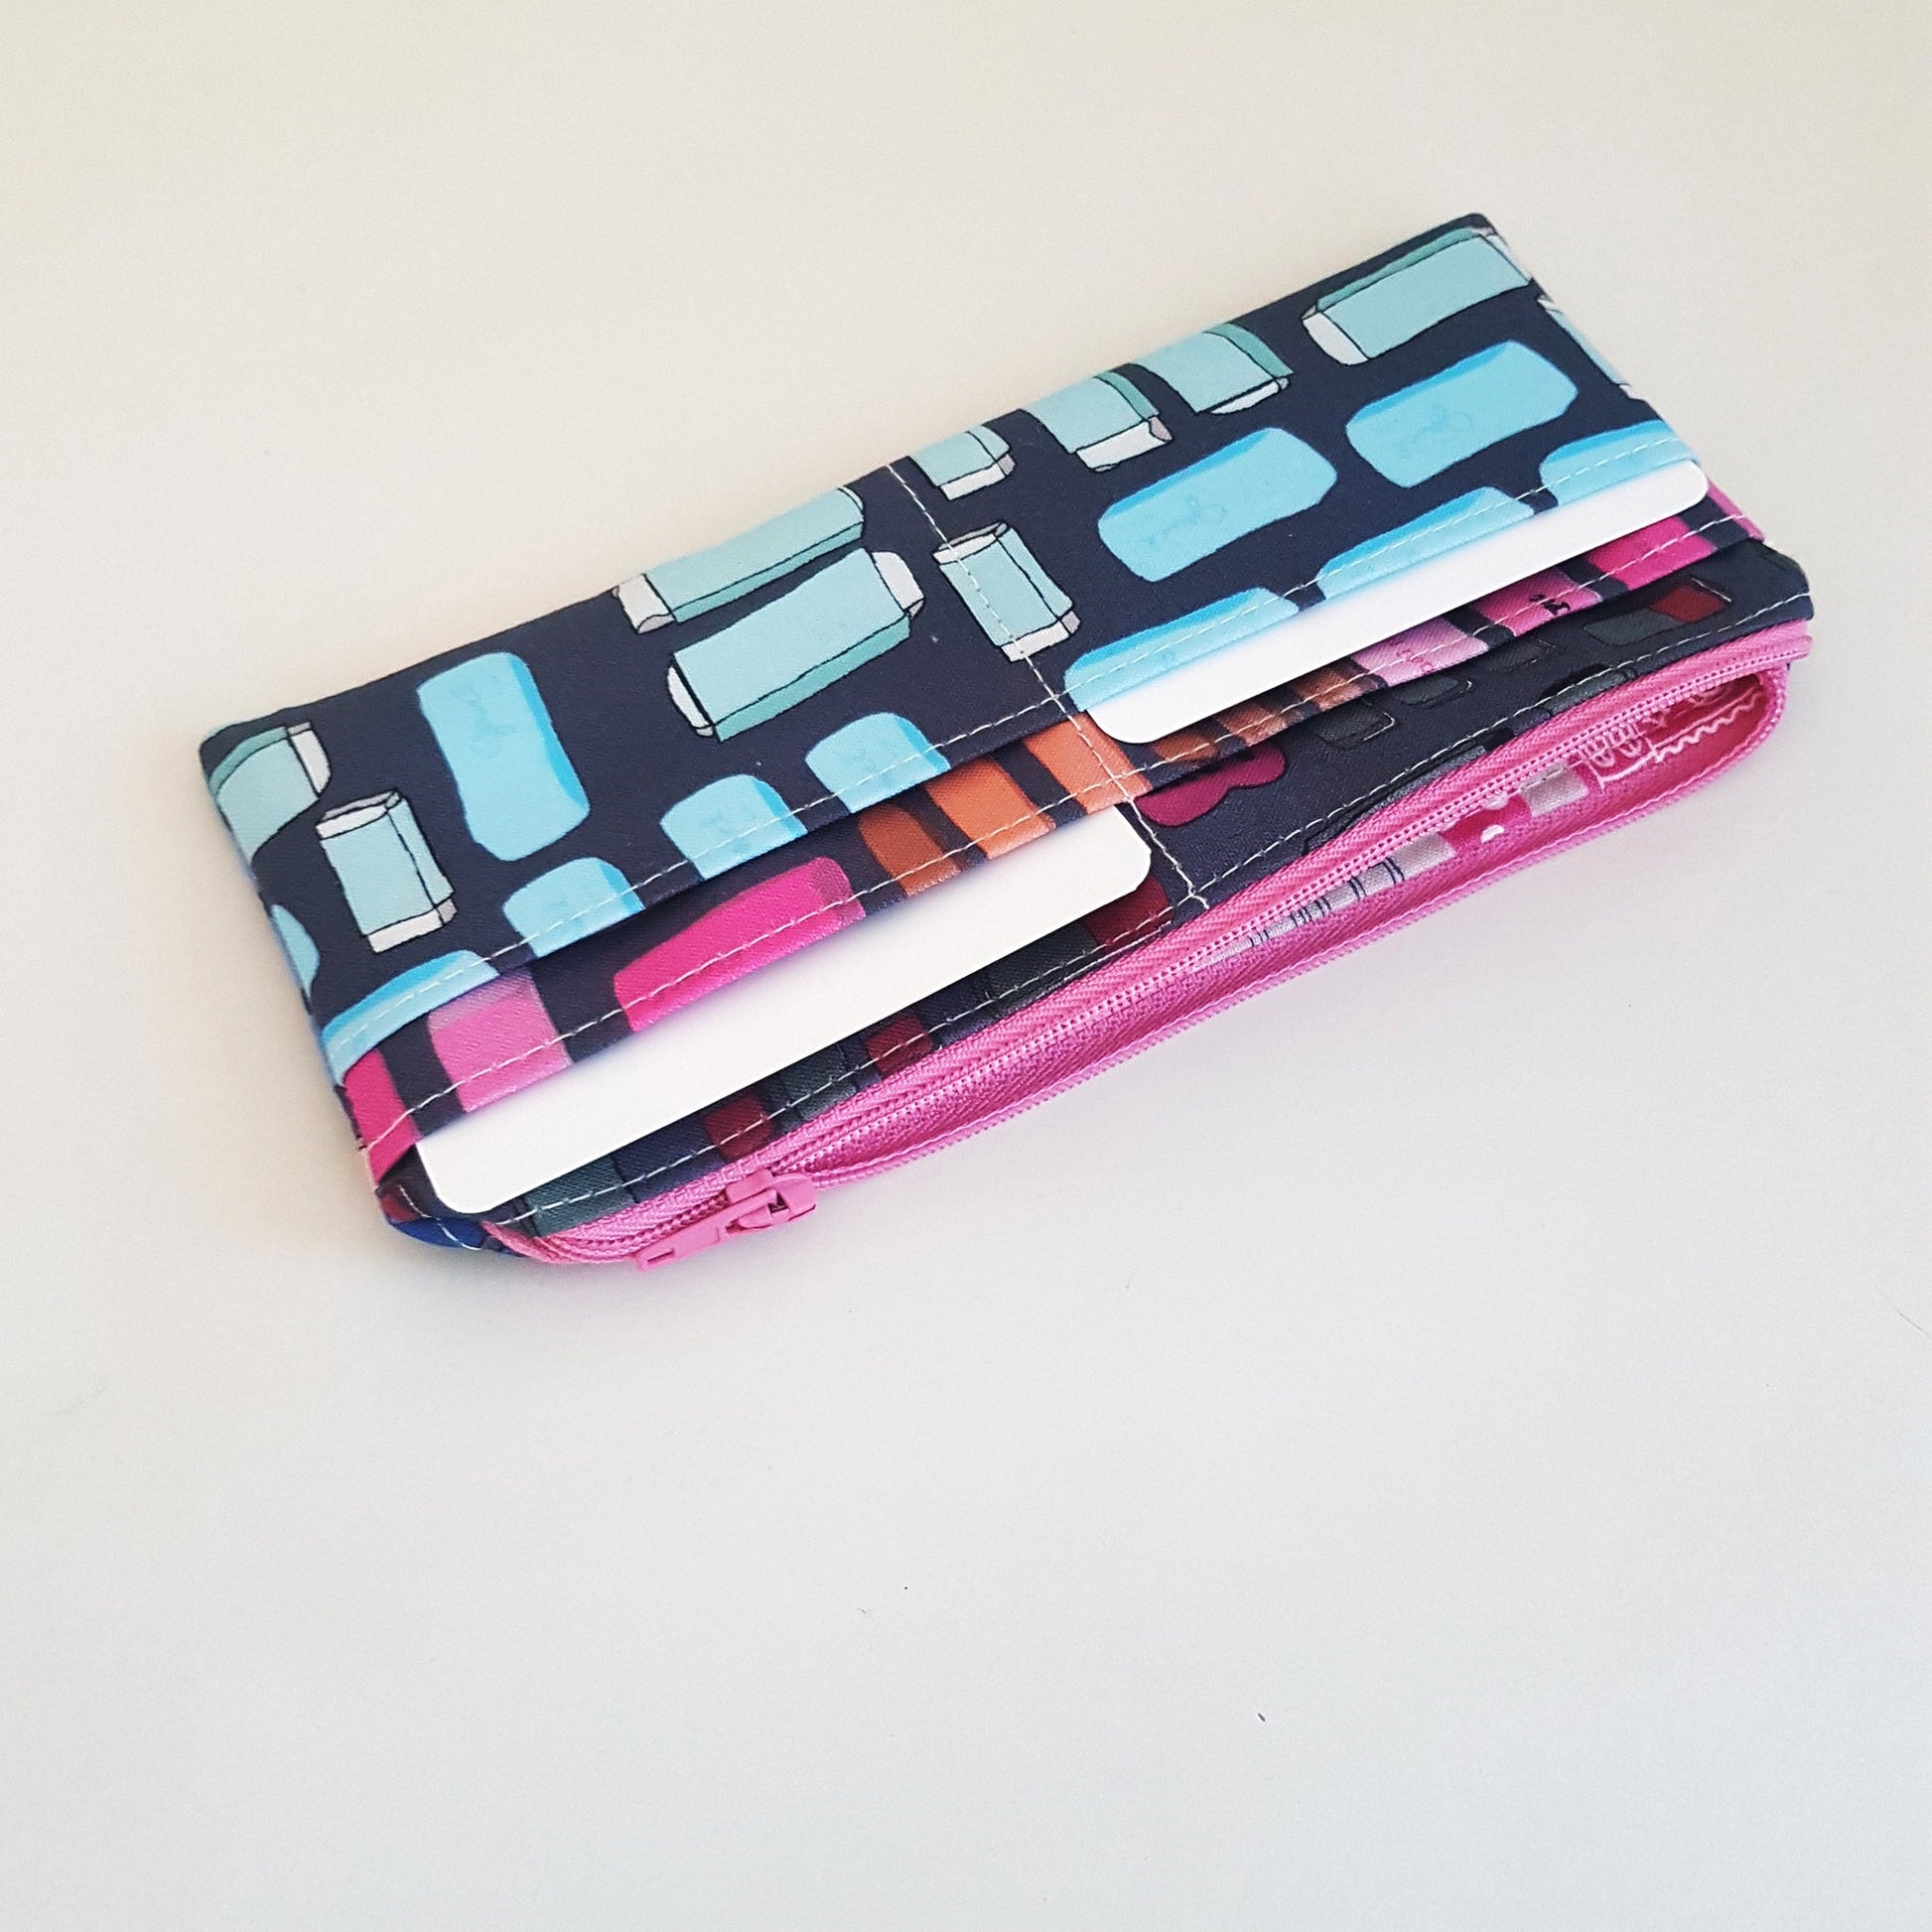
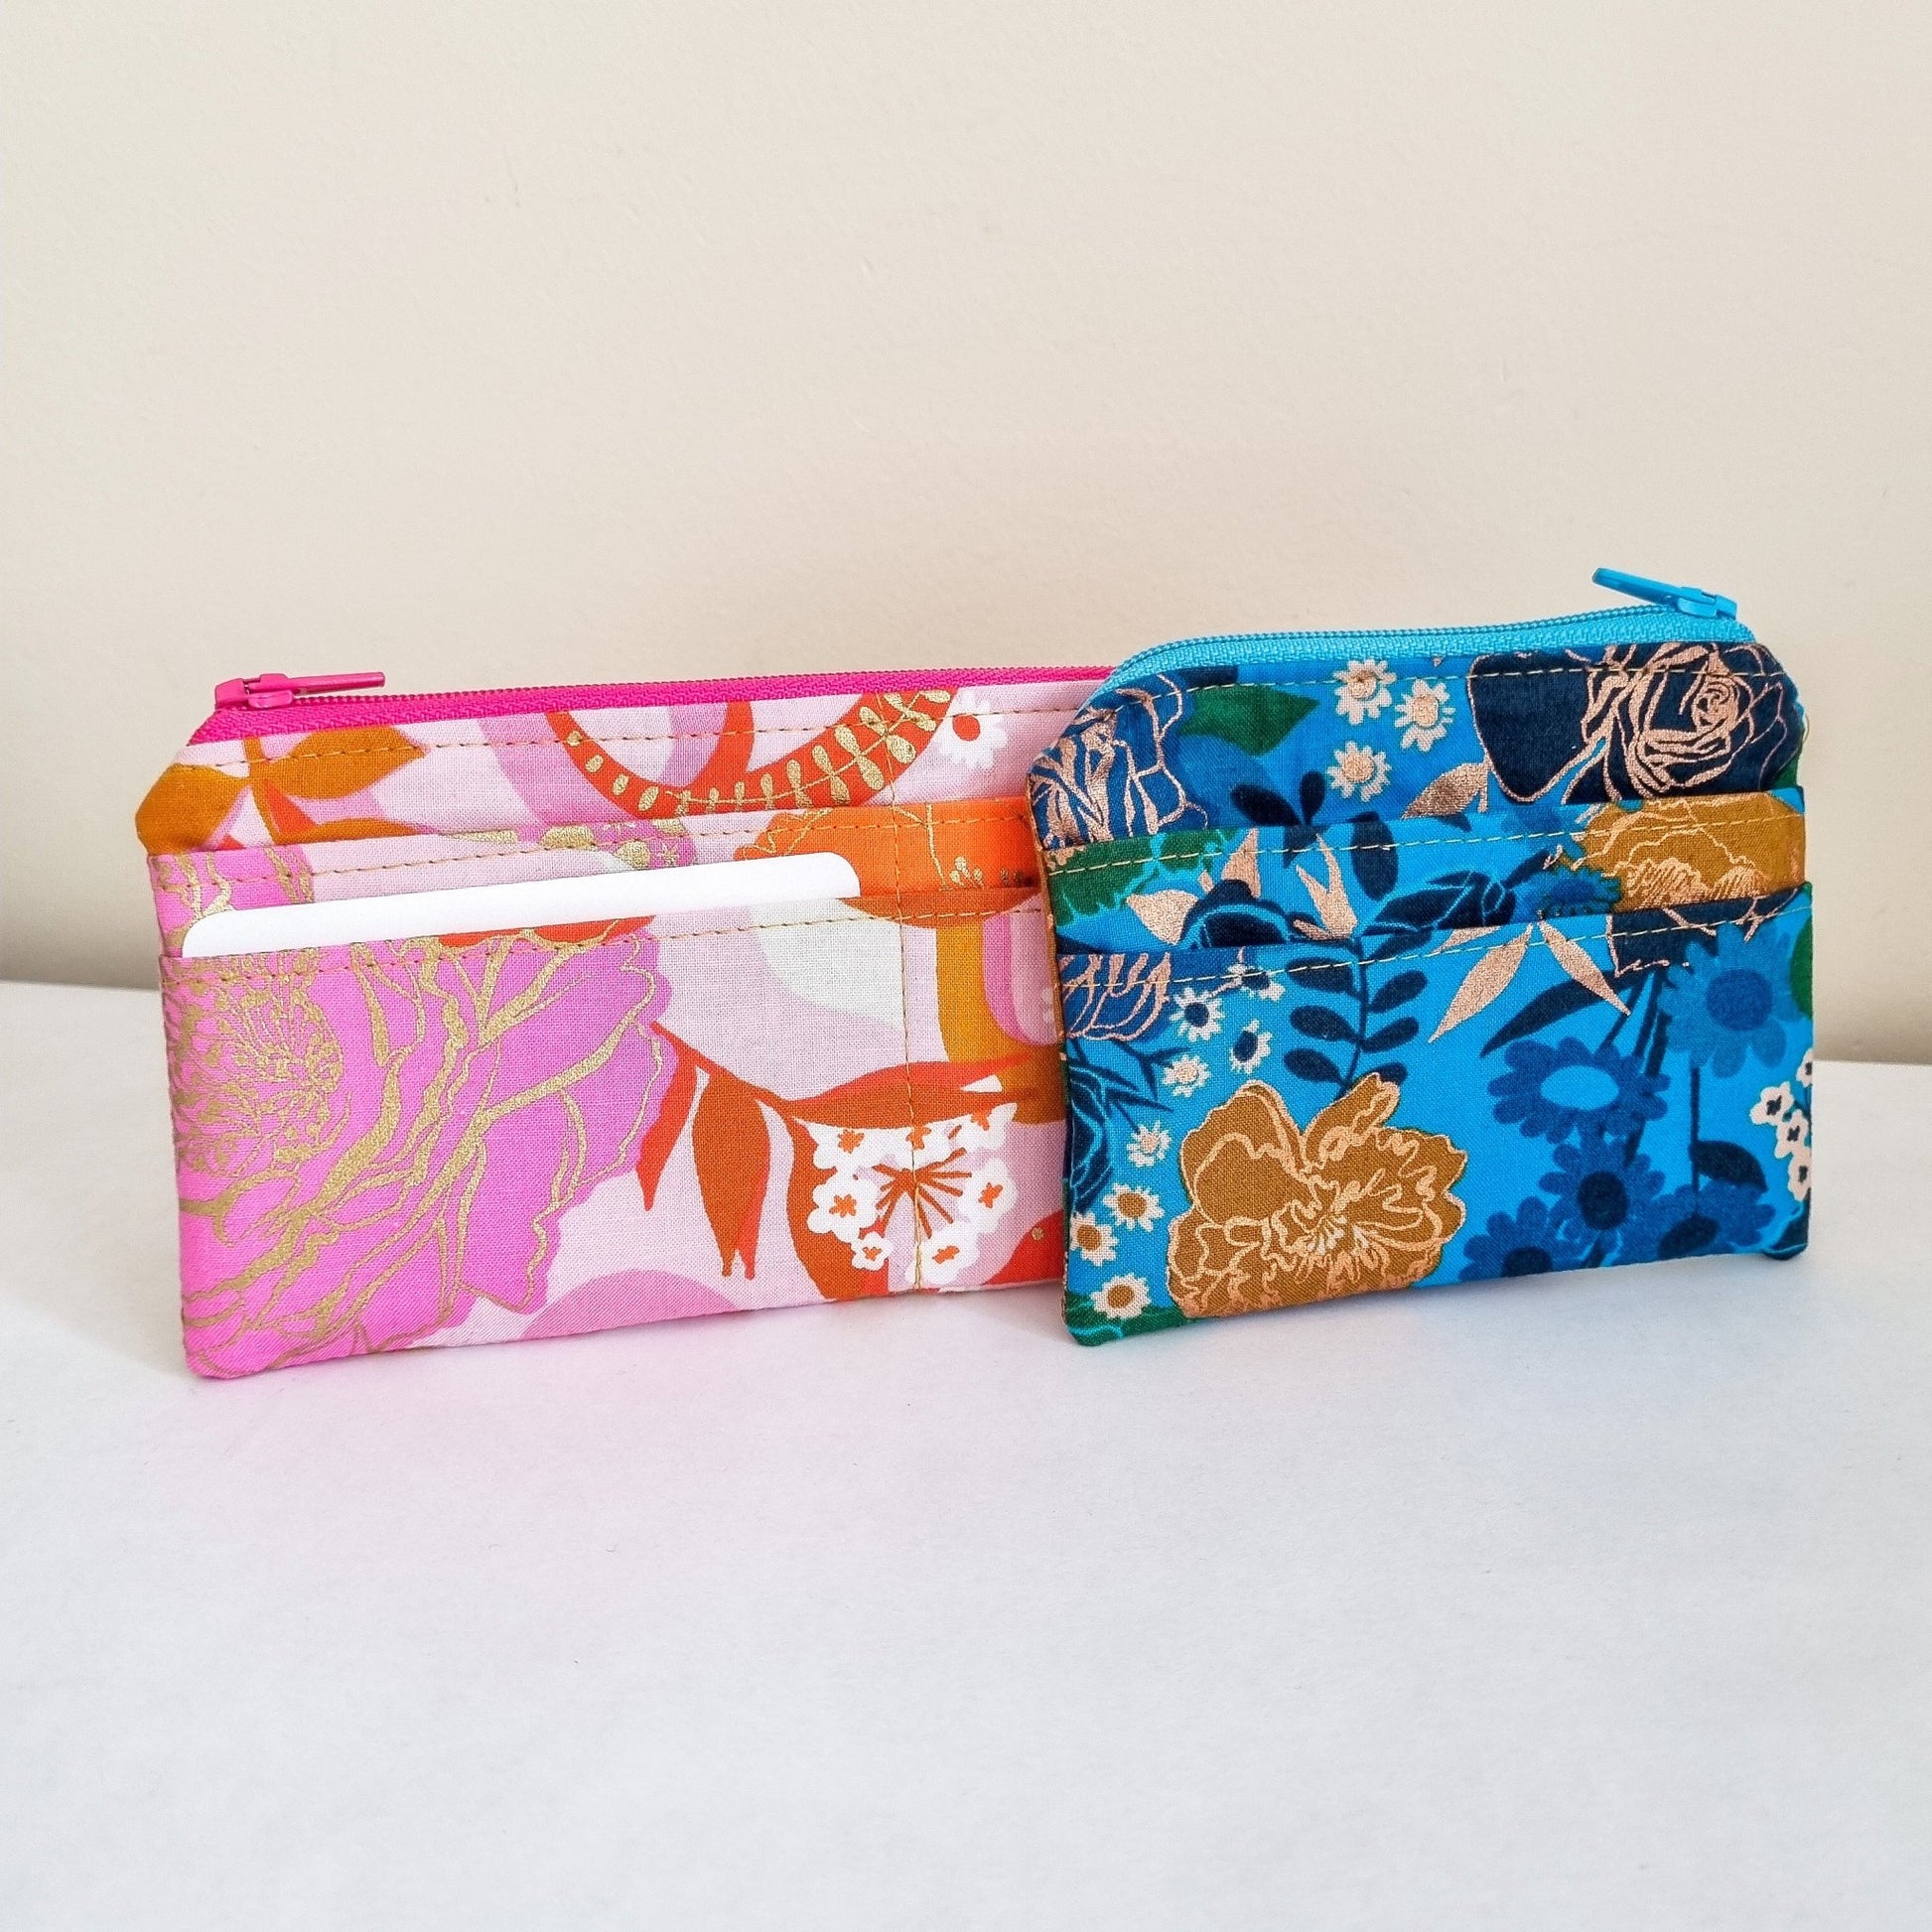
The cute card and coin purse is a great beginner friendly sewing pattern. The cute card and coin purse comes with two sizes, small and wide.
The small size has 2 card pockets and the wide has 4 card pockets. You could also make these card pieces for both exterior sides to double the amount of card pockets.
This product includes:
- PDF pattern
- A3 Pattern pieces
- SVG file
- Video tutorial
You will need:
- 1 x 10" Zip (to be cut down)
- 1 Fat Quarter for Exterior 1 Fat Quarter for Lining Fabric
- 1/4 Yard Fusible Interfacing (SF101)
The finished sizes for these pouches are:
- Small 4.5" x 3.5"
- Wide 7.5" x 3.5"
Delivery is INSTANT DOWNLOAD PDF. No waiting! Once the payment is complete, the pattern will be available to you to download immediately!
Copyright Information: You are welcome to sell your pouches on Etsy or at market stalls etc. However please be aware that the permissions for commercial use, it does NOT include factory manufacture or mass production and mass selling.
Please do NOT copy, reproduce, distribute, sell or share ANY part of this pattern in any way whatsoever. It is for your own use only.
As this is a digital product no refund will be given for change of mind.
Check out our other Pouch patterns https://loreleijayne.com/collections/pouches