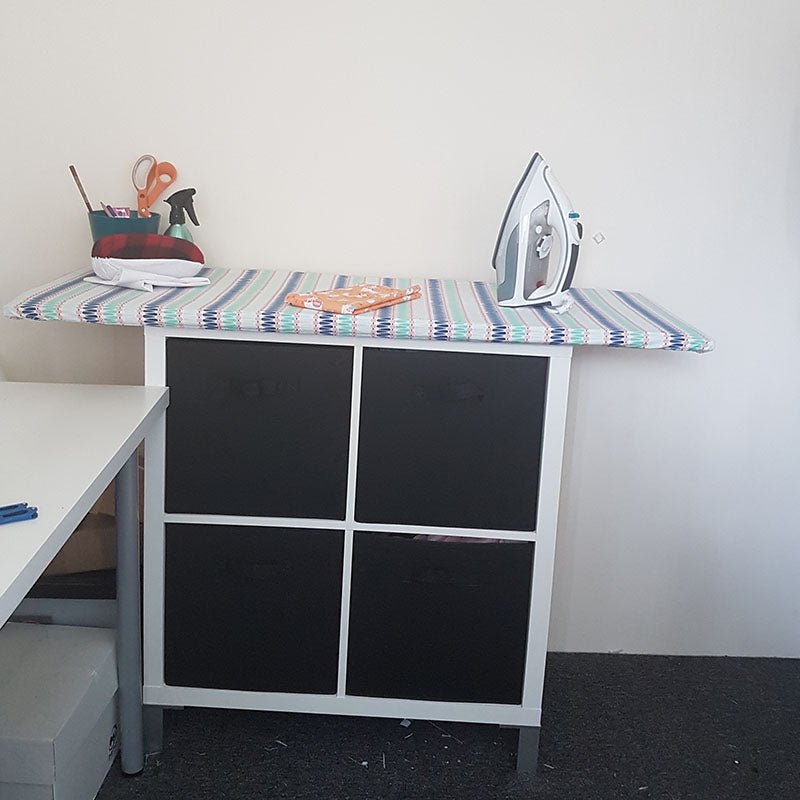
DIY Ironing Board with Storage
Once i had renovated my sewing room i wanted an ironing surface with storage for my fabric.
My ironing board needed to fit in a small space and hold a good amount of fabric.
Can you believe this fits almost all my fabric! i have one other tub with my specialty fabric in it. I'm very proud that i did this in a matter of hours.
It is big enough for ironing a large amount of fabric but doesn't take up a huge amount of space because it's functional.
On to the details! Everything except the fabric and the ironing board felt was bought at my local bunnings hardware store.
It was not inexpensive, all inclusive it was about $95. I could have done it cheaper if i had waited to find a secondhand cube bookcase. I did look but i didn't find one.
The items i used are:
Cube bookcase was $35
4 cabinet legs (plastic) measures 40mm x 100mm $4.99 each
MDF 450mm x 1200mm (18" x 48") $9.19
Chipboard screws $4.20
4 cube fabric drawers $4.99 each, you could save money and make your own!
Liquid nails (this is if you want your top to be glued on, i did!)
Ironing board felt underlay (but you can use batting, see below)
Fabric and elastic for the ironing board cover.
I first made the cube storage unit. mines from Bunnings Hardware store but you could use ikea or any other brands. This one was easy to put together and took me about 10 minutes. It's surprisingly very stable too!
I bought 2 legs and installed them in each corner of the bottom of the cabinet with the chipboard screws. These screws are perfect to use for this wood as they are short. Just use a electric screwdriver and a little bit of pressure they will go in easily. My cabinet legs are plastic and they work well.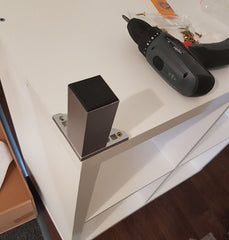
Once the legs were installed i turned the cabinet up the right way. i marked the centre of the cabinet on the top front and the centre of the MDF wood so i could match them. I put the liquid nails on the cabinet and lined up the wood. I did this fairly quickly but i would say you have a good 5 minutes before it wont let you move it.
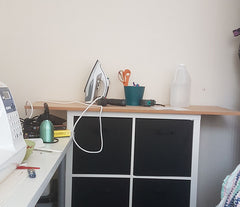
I weighed the top down for 24 hours. This is curing time for the liquid nails and allowed me time to make the cover.
I want a very firm ironing board, perfect for pressing seams! I placed the Ironing board felt underlay onto the MDF, i have seen people use old towels, 100% cotton blankets and of course you could use batting. I wanted to lay ironing felt on rather than attach it just incase it didn't work out and i could change it out. and also if i need an extra surface for working i can just take off the cover and felt. It doesn't move around at all while ironing.
The cover is 100% cotton i made it bigger than the board and created a casing for elastic. it fits very snug. The next cover i will make a tiny bit bigger.
Check out my FREE Sewing Tutorials and subscribe to my newsletters below for latest pattern news and discount codes.
