How to use Lorelei Jayne PDF Patterns
I've had a few questions about how to use my PDF Patterns especially as the free tutorials don't really explain how to put the pattern together.
It's super simple!
First printing. It's really important you get this right otherwise your project may not be the right size!
Your printing settings should be 100% or actual size. If you have Auto rotate or auto portrait/landscape you should put that on too.
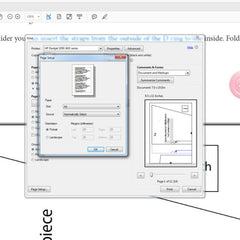
You should ensure you put in the correct paper size, in adobe you click page setup to select paper size. Print just the pattern pages you need to save ink.

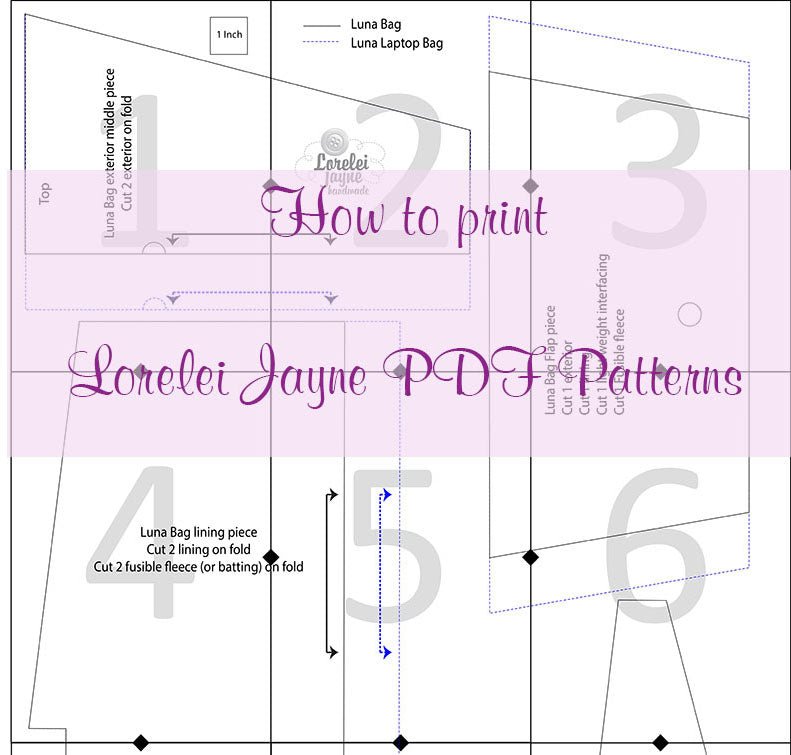
Most of my patterns are black and white however the Luna bag and Tech pouch patterns have multiple sizes, they have colored dashed lines to help identify the correct size to cut.
I recommend you print page 1 first as it has the 1 inch square on it.
Once you have printed the pattern check the 1 inch Square is 1 inch. This will ensure you have printed the pattern correctly.
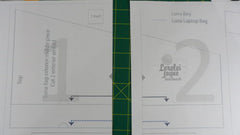
The way i put PDF patterns together is the cut along the border line on the right of the page and put it against the left side of the next border page (page 2).
Match up the triangles to make a diamond. Then tape along the diamond first. I feel like this helps steady it before you tape along the whole line.
For the next row i cut along the top border of row 2 and keep cutting the right hand border off and matching like row 1.
Once it's all stuck together cut out the pattern pieces! and your ready to go. If you going to use the pattern pieces more than once you can tape the back side too!


