Add a Secret Pocket to the BG Bag
I'm so excited to introduce this awesome tutorial!
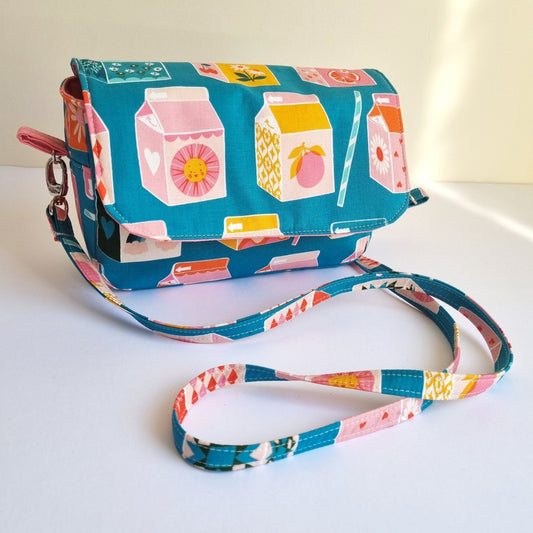
Beverley from Beverley Power Handmade has made her second completely reversible BG bag and it has a secret pocket!
I thought it was such an amazing and inventive idea that i had to get her to write this tutorial!
Check out Beverley's page here and follow her on Instagram here!
This post contains affiliate links
You'll need the BG Bag Pattern which you can get from Etsy or in the shop

BG Bag - Secret Pocket!
When I received the BG Bag to pattern test, the only thing that I thought it needed was a pocket. However, the BG Bag pattern was designed to be reversible, so a pocket needed to be hidden, if it was to be useful regardless of which way out the bag was used.
So, I decided that the easiest way to include a pocket would be to include it in the seam.It also meant that I had a great excuse to make another BG Bag from some very pretty fabrics!
Follow the instructions for the BG Bag as written.
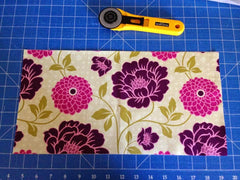
When you cut and fuse your bag pieces, you will also need to cut and fuse a pocket piece.
Mine is approximately 8” x 14”.
This is my pocket piece, fused with SF101 interfacing.
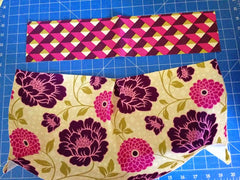
Find the centre of your main panel and top panel.
I used a frixion pen to mark the centre on the reverse side (interfacing).
I like these pens, as I know that it will (usually) iron off.
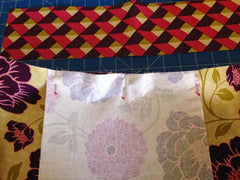
Find the centre of pocket panel (short side) and pin it to the main panel – right sides together.
Sew along the top, using the same seam allowance as stated in the BG Bag pattern.
Repeat this with the top panel – find the centre, pin it right sides together and sew.
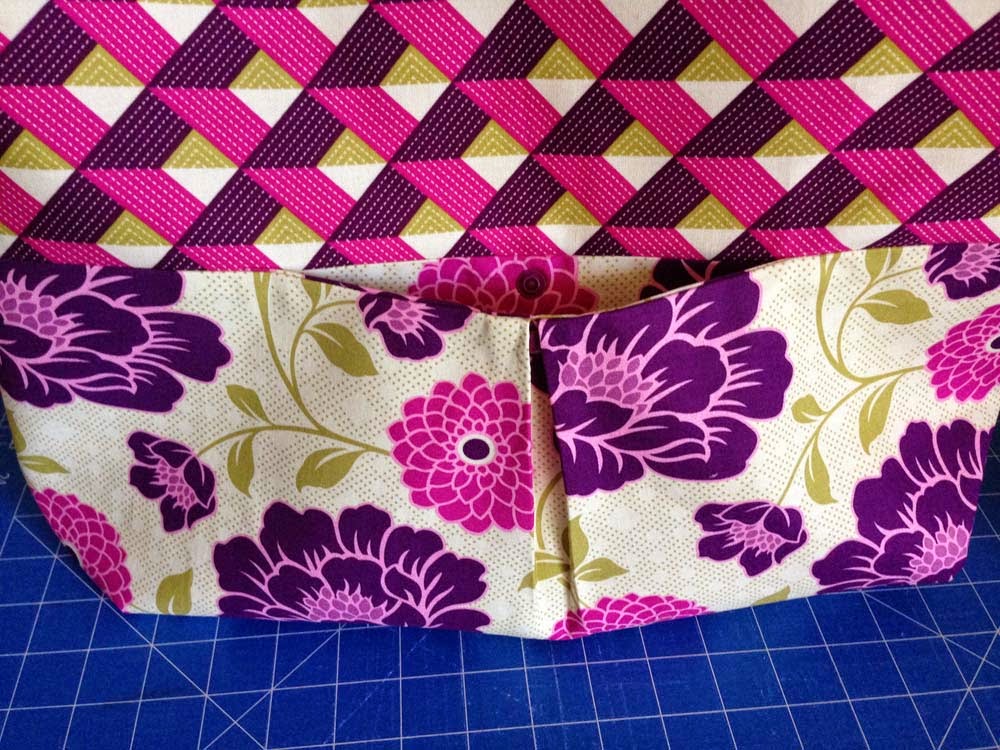
Your assembled pieces should look like this.
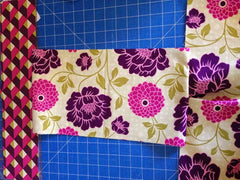
Sew the pocket together.
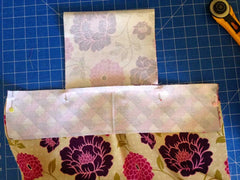
Pin the main bag panel and sew each “L” shape, using the same seam allowance stated in the pattern.
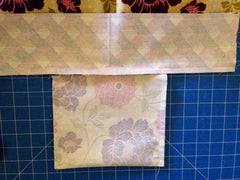
The pocket is finished.
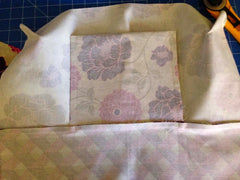
Press the bag panel.

Unfold the main panel and pocket, then press so that they are nice and flat.
N.B. My seam has been pressed towards the main panel.
You can still top stitch along the top panel as per the pattern, but I chose not to for this one.
Attaching the snap – I have a snap press, so have used this to attach my snap.
I inserted one snap in between the two folds of the front pleat.
I then used the pointy end of the snap to mark when the other one should go (I then drew a dot using my pen – the dot won’t be seen, once the snap is in place.)
You could also use press-studs, a magnetic closure or Velcro for you pocket closure.
Finished pocket open.
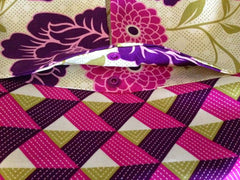
Finished pocket closed
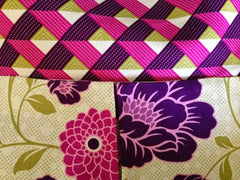
Continue assembling the bag as per the pattern instructions.
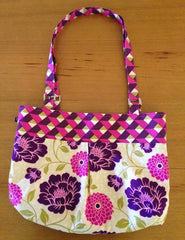
The bag is finished!
I adjusted the straps a little, but otherwise I followed the pattern.
I love this pretty fabric!
- Beverley.
Isn't that such a great idea! Well done Beverley, i love your new bag!
Check out Beverley Power Handmade as she has so many beautiful items for sale including BG Bags and does custom orders too.
Seeing others BG Bags has made my heart swell with pride!
Sign up for our newsletter below for pattern news and discount codes!
