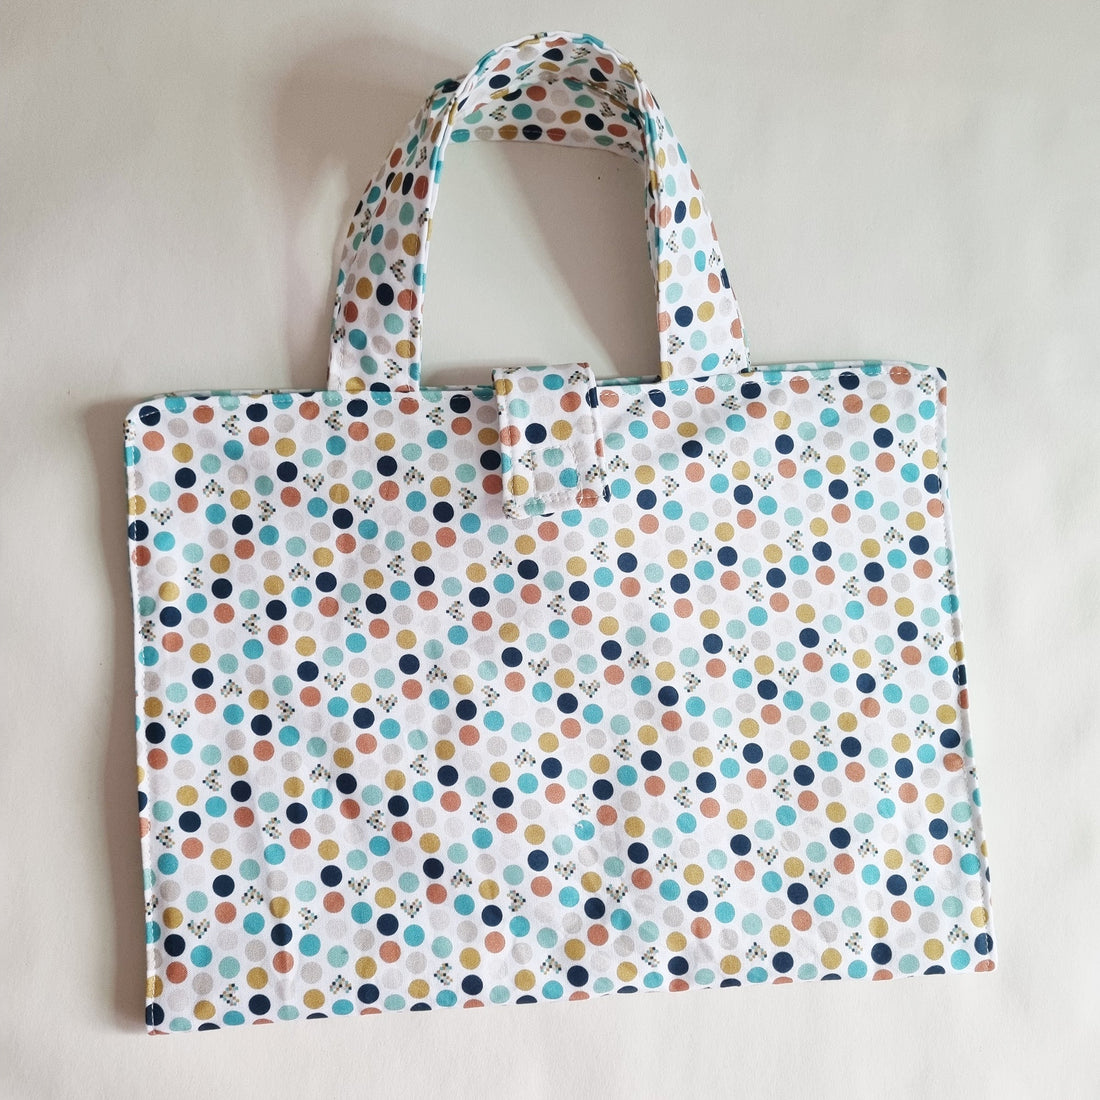
Colouring Book Caddy Sewing Tutorial
This colouring book Caddy bag fits colouring books, music books, folders and is perfect for kids.
The colouring book caddy is great Beginner sewing project and good for kids.
This post contains affiliate links.
I've improved the pattern pieces and download them here.
The Seam allowance is 1/4" except when sewing all together which is 1/2" and top stitching 1/8"
You need:
Pattern pieces, cut them as marked on the pieces.
(1) 1 1/2" piece of velcro
(1) 4.5" piece of Velcro
*** Note about interfacing, it's optional, i haven't put it on the pattern pieces.
I sometimes put interfacing on the back piece. Especially if it's poplin.
First, do the hemming. Fold 1/4" of the non rounded long side of each front pocket then 1/4" again, top stitch
Fold 1/4" of one long side of the Pencil case then 1/4" again, top stitch
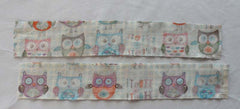
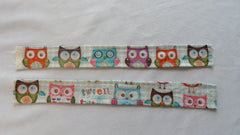
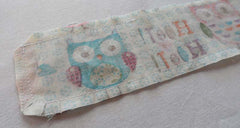
Sew 2 strap pieces right sides together down each long end, turn, press and top stitch.
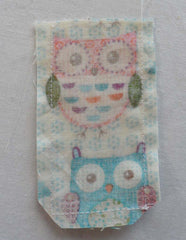
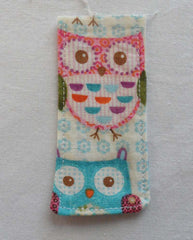
Sew the 2 closure tabs right sides together on 3 sides, clip corners, turn, press and top stitch.
Sew the Pencil case flap right sides together leaving a 1-2 inch gap in at the top. clip corners and curves, turn, press and top stitch along the sides and bottom. Don't top stitch the top yet.
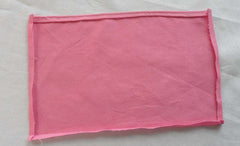
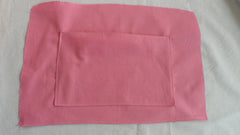
Take the pencil case flap and line it up about 1/4" away from the top of the pencil case. Top stitch along the top attaching the flap to the pocket.
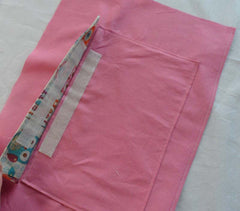
Now this is the part where I attach the Velcro to the pencil case so it lines up perfectly. Attach it just under the top stitching on the case and line it up on the flap.
Baste the pockets onto the inside piece at 1/4" ensure the hemmed sides of the pockets are right side up and in towards the middle
Attach the piece of Velco on the back piece (exterior piece) Find the middle of left side on the back piece and attach the Velcro 1 ½ inches in from the edge.
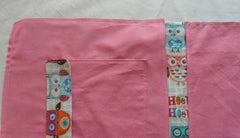
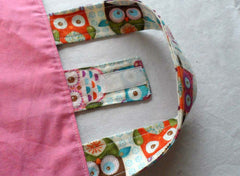
Find the middle of each short side of the back piece and put the closure flap on the right side. Place the straps 1 inch to the left and right of the closure flap and in the same place on the left side.
Pin back piece right sides together on to the middle piece (the rest)
Sew around using 1/2" seam allowance and leaving a 2” gap at the bottom for turning. Clip corners, turn, press and top stitch.
Attach Velcro to the end of the closure flap to allow room for markers and pencils in the pencil case.
I hope you enjoyed this tutorial, please leave a comment if you did!
If you would like to make this caddy to sell please purchase the tutorial to PDF bundle as this allows me to keep making great free tutorials and patterns.
I hope you make one of these fun bags. Sign up for our newsletter below for pattern news and discount codes!





3 comments
thank u for pattern and tutorial..will go make one now..much appreciated
I cannot seem to log in and resent my password to get your pattern for the coloring book caddy
Could you give me the measurement of material I need to buy for the color book caddy I downloaded the pattern and directions but it doesn5 tell me how much material to buy